How to Deep Fry a Turkey (Step by Step)
 Sean O'Connor
- 17 Sep 2026 08:29
- 6
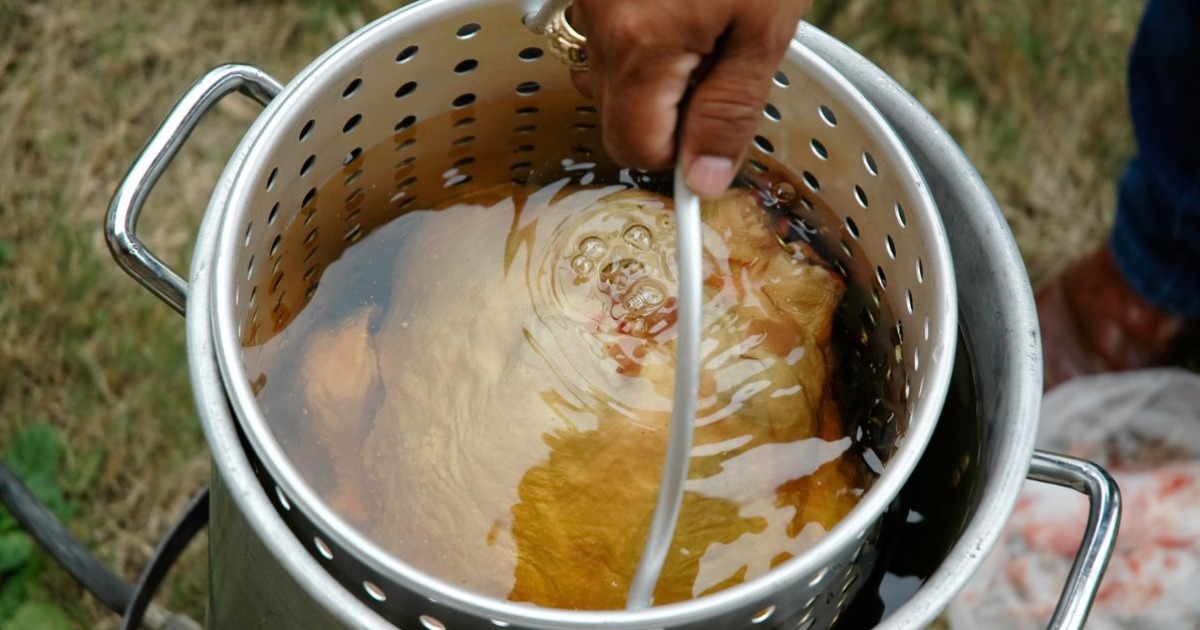
There’s a reason deep-fried turkey has such a following: the skin turns deeply golden and crisp while the meat stays juicy, and the whole bird can cook in a fraction of the time it takes to roast one.
The catch is that the cooking may be quick, but the preparation can’t be rushed. A frozen turkey needs several days to thaw completely, and before the oil gets hot, you’ll need to make sure the bird is dry and measure exactly how much oil your fryer can safely hold.
For the method below, we’re working with a whole, unstuffed 10–12-pound turkey and an outdoor propane fryer. Keep a food thermometer on hand, too, since internal temperature, rather than cooking time or skin color, is what tells you when the turkey is done.
Using an electric fryer? The process can be a little different, so follow your model’s instructions for capacity, placement, and temperature.
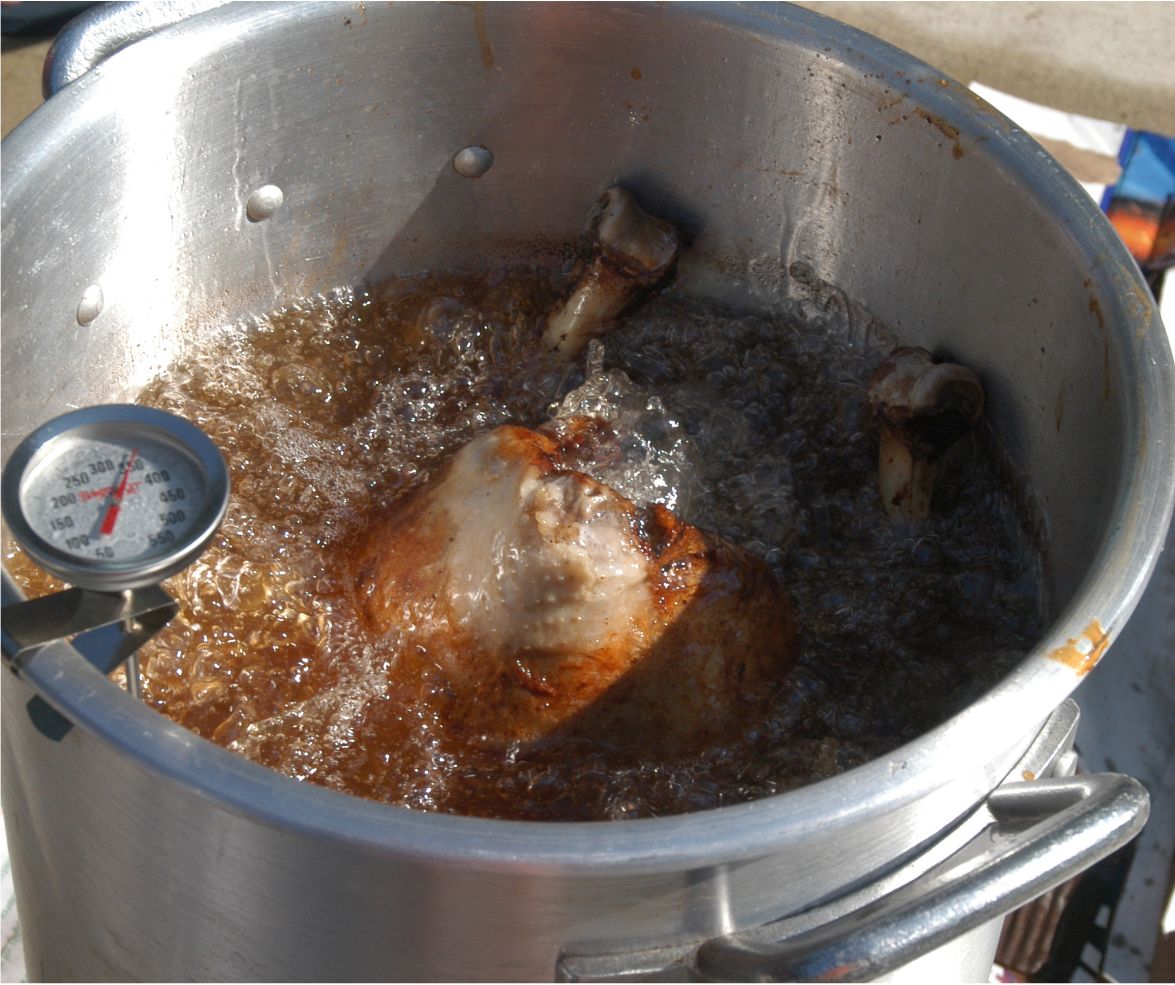
Here is the process at a glance:
- Choose a suitable turkey and thaw it completely.
- Measure the oil level with a cold-water test.
- Dry and season the turkey.
- Set up the fryer in a safe outdoor location.
- Heat the oil and slowly lower the turkey.
- Fry while monitoring the oil temperature.
- Check the internal temperature.
- Drain, rest, and carve.
What You Need Before You Start
Before buying your turkey, check the fryer manual to see what size it can safely handle. Just because a bird fits inside the pot doesn’t necessarily mean there’s enough room for the oil it will displace. USDA’s whole-turkey frying guidance recommends keeping the turkey at 12 pounds or less. If your fryer has a lower limit, stick with that.
- One fully thawed, unstuffed 10–12-pound turkey.
- Refined peanut, canola, or another oil labeled suitable for deep frying. Use the test below to figure out how much you’ll need.
- A purpose-built outdoor turkey fryer with its compatible pot, poultry rack or basket, lifting hook, and fuel supply.
- A deep-fry thermometer for monitoring the oil, plus a separate instant-read food thermometer for checking the turkey.
- Dry, heat-resistant gloves, long sleeves, closed-toe shoes, paper towels, a sturdy tray, and a carving board.
- Salt, pepper, and a dry seasoning blend, along with a fire extinguisher rated for cooking-oil fires.
Take a quick look at the turkey’s label before reaching for the seasoning. If it says “enhanced,” “self-basting,” or “contains a solution,” the bird may already contain salt, so you won’t need as much extra. For a first attempt, there’s also no need to complicate things with an injected marinade or wet brine. A light dry seasoning keeps the prep simple.
Is Deep-Frying a Turkey Safe?
Deep-frying a turkey can be done safely, but a large pot of hot oil sitting over an open flame leaves little room for shortcuts. You’ll need the right equipment, a suitable outdoor setup, and an adult keeping an eye on the fryer the entire time. Two things are especially important to avoid: overfilling the pot and putting in a turkey that still has ice or trapped water, both of which can cause hot oil to spill over the rim and reach the burner.
Set up the fryer on a sturdy, level, noncombustible surface at least 10 feet from your home, or farther away if your fryer manual calls for it. Stay clear of garages, decks, roof overhangs, and anything else that could catch fire. Propane fryers should never be used indoors, in the rain, or in conditions where wind could make the setup unstable. Keep children and pets well away from the cooking area.
Never leave the fryer unattended or move it while the oil is hot. Never add water to hot oil. If oil catches fire, move everyone away and call emergency services; do not carry the pot or try to extinguish it with water.
How to Deep Fry a Turkey
Step 1: Thaw the Turkey Completely
This is one step you don’t want to rush. Keep the wrapped turkey on a rimmed tray in the refrigerator at 40°F (4°C) or below, allowing about 24 hours of thawing time for every 4–5 pounds. For a 10–12-pound bird, that usually works out to around three days.
Before moving on, check more than just the surface. The outside can feel completely soft while ice is still hiding inside the cavity. Once the turkey is fully thawed, remove the wrapping, neck, giblets, and any plastic parts.
Never put a frozen or partially frozen turkey into a deep fryer, and don’t speed up the process by thawing it on the counter. According to USDA’s safe-thawing guidance, a turkey thawed in the refrigerator can stay there for another one to two days before cooking.
Step 2: Measure the Oil Before Heating
Before any oil goes into the pot, figure out exactly how much you need. With the burner off and the pot completely cold, place the thawed turkey on its rack or in its basket and lower it into the pot. Add cold water to the immersion depth specified in your fryer manual, making sure you stay within the equipment’s safe capacity. USDA’s general method calls for enough to cover the turkey by 1–2 inches, but your fryer’s fill limit and required headroom come first.
Now lift the turkey out and let the excess water drain back into the pot. Mark where the water settles. That mark shows how high to fill the pot with oil once the turkey has been removed.
If you can’t submerge the bird while still leaving the required amount of space below the rim, don’t try to make it work with less headroom. Use a smaller turkey instead.
Once you have your measurement, empty the water and wash the pot and equipment as needed. Then dry everything completely before bringing oil anywhere near the setup. Keep the turkey refrigerated in the meantime. This measuring test should only be done with cold water and a cold pot, never with hot oil, and water should never be added once heating has begun.
Step 3: Dry and Season the Turkey
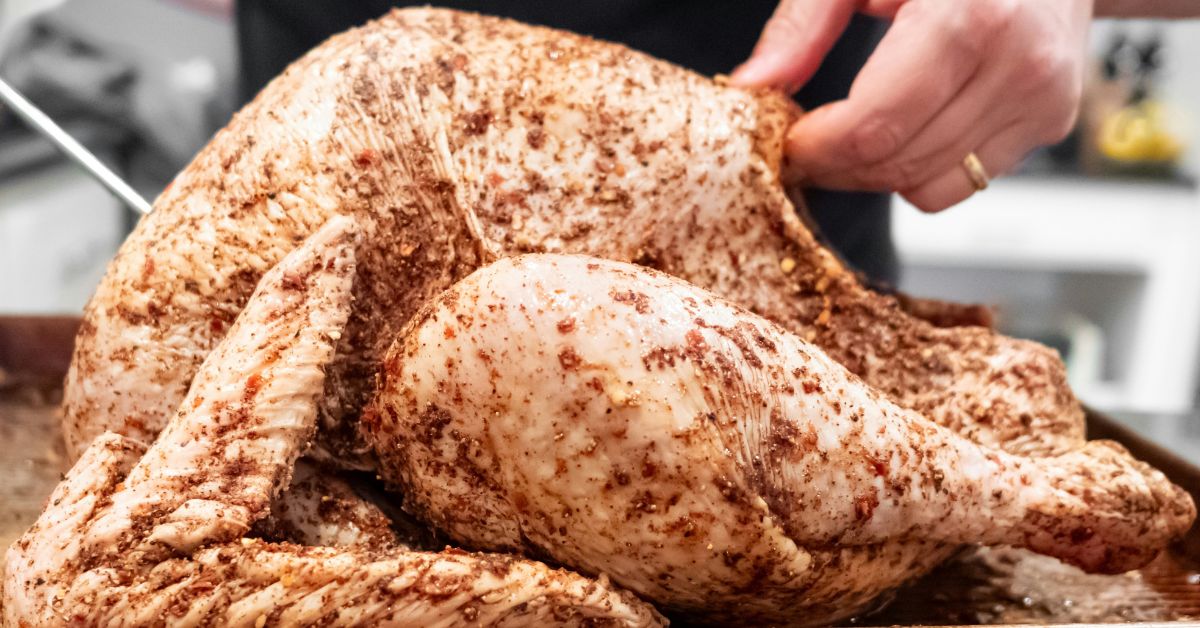
With the oil level sorted out, turn your attention back to the turkey. Pat it thoroughly dry with paper towels, checking inside the cavity and around folds of loose skin where small pockets of water can hide. Don’t rush this part. Even a little trapped water can cause hot oil to splatter when the turkey goes in.
For seasoning, keep it simple. A light coating of salt, pepper, and your favorite dry seasonings is enough. Skip thick, sugary coatings, which can darken quickly in the hot oil, and leave the cavity empty. Any stuffing should be cooked separately.
Secure the turkey to the fryer rack according to the manufacturer’s directions, making sure oil will still be able to circulate through the cavity.
Step 4: Set Up the Fryer and Add Oil
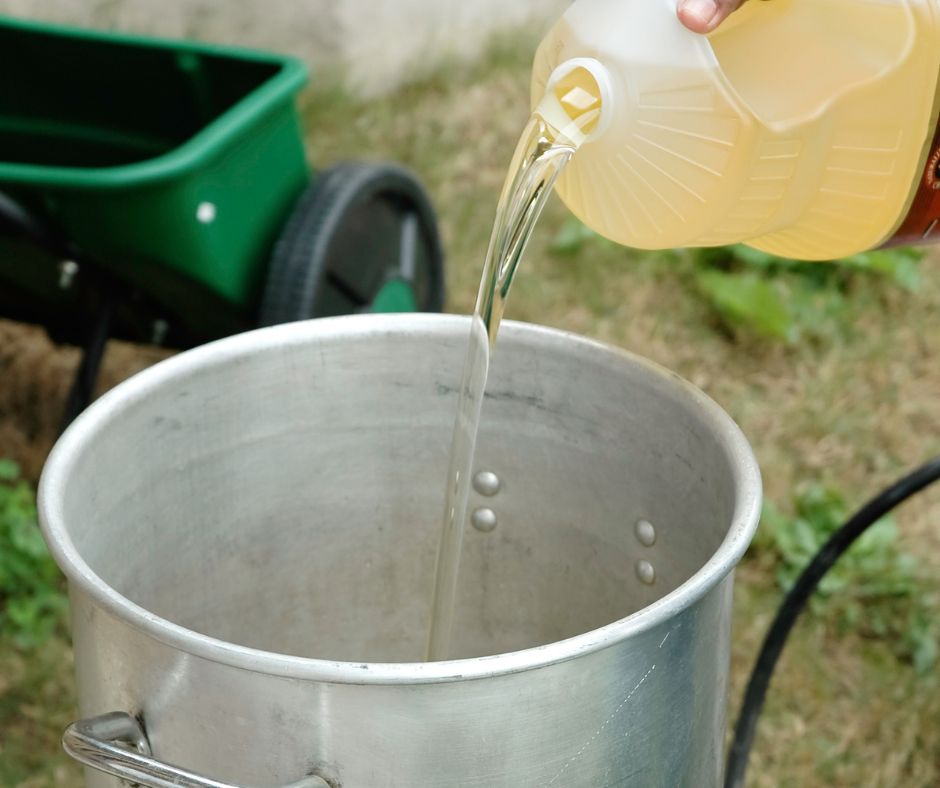
Now it’s time to get the fryer ready. Set it up in the outdoor spot you’ve chosen, then check the stand, hose, fuel connections, and pot against the manufacturer’s instructions. Place a clean tray on a sturdy surface within easy reach. When the turkey comes out of the oil, you want a clear path from the fryer to the tray, without chairs, cords, or anything else to step around.
Keep the heat off while you fill the completely dry pot with oil, stopping at the level you marked in Step 2. Stick with that measurement rather than guessing or assuming every turkey needs the same number of gallons.
Position the oil thermometer so the probe sits in the oil without touching the bottom of the pot. Once everything is secure and in place, you’re ready to start heating
Step 5: Heat the Oil and Lower the Turkey
Bring the oil to 350°F (177°C), the temperature used in USDA’s outdoor whole-turkey frying method. Keep an eye on the thermometer as the oil heats. If you see smoke, turn off the heat and give the oil time to cool.
When the oil reaches temperature, don’t rush straight into lowering the turkey. Turn off the propane burner first. Put on dry, heat-resistant gloves, grab the supplied lifting tool, and lower the bird into the oil slowly and steadily. Keep your face and body back from the opening, and never drop the turkey into the pot.
Expect plenty of bubbling as the turkey goes in. Give it time to settle and wait for the bubbling to calm down. As long as no oil has overflowed, relight the burner only when it’s safe and according to your fryer’s instructions. Turning off the flame before lowering the bird reduces the chance of spilled oil igniting, though the hot oil itself can still cause serious burns.
Step 6: Fry and Monitor the Temperature
Once the turkey is frying, aim to keep the oil around 350°F (177°C), making gradual burner adjustments as needed. The temperature will naturally fall when the turkey first goes in. Resist the temptation to crank the flame all the way up to bring it back immediately.
Stay with the fryer and keep an eye on both the temperature and the oil level, especially if the oil begins climbing toward the rim.
For planning purposes, allow roughly 3–5 minutes of frying time per pound. That works out to about 30–50 minutes for a 10-pound turkey and 36–60 minutes for a 12-pound turkey, not including preheating or resting time.
Start checking the turkey near the early end of that range rather than waiting for the clock to tell you it’s done. A beautifully browned bird can look ready before it actually is, so let the food thermometer, not the timer or the color of the skin, make the final call.
Step 7: Check the Internal Temperature
Once you’re getting close to the expected cooking time, let the thermometer tell you whether the turkey is actually ready. Turn off the burner first, then use the supplied lifting tool to raise the bird slowly from the oil. Pause long enough for the excess oil to drain back into the pot before transferring the turkey to your clean, sturdy tray. Don’t try to take a temperature reading while the bird is still submerged.
Check three spots with a food thermometer: the thickest part of the breast, the innermost part of the thigh, and the innermost part of the wing. Keep the probe away from bone, which can throw off the reading. According to USDA guidance, all three areas need to reach at least 165°F (74°C).
If even one spot comes in below 165°F, the turkey needs more time. Return it to the oil promptly, keeping the burner off as you lower it back in. Resume frying, then check again after a short interval. Don’t count on the resting period to bring an undercooked turkey up to a safe temperature.
Step 8: Drain, Rest, and Carve
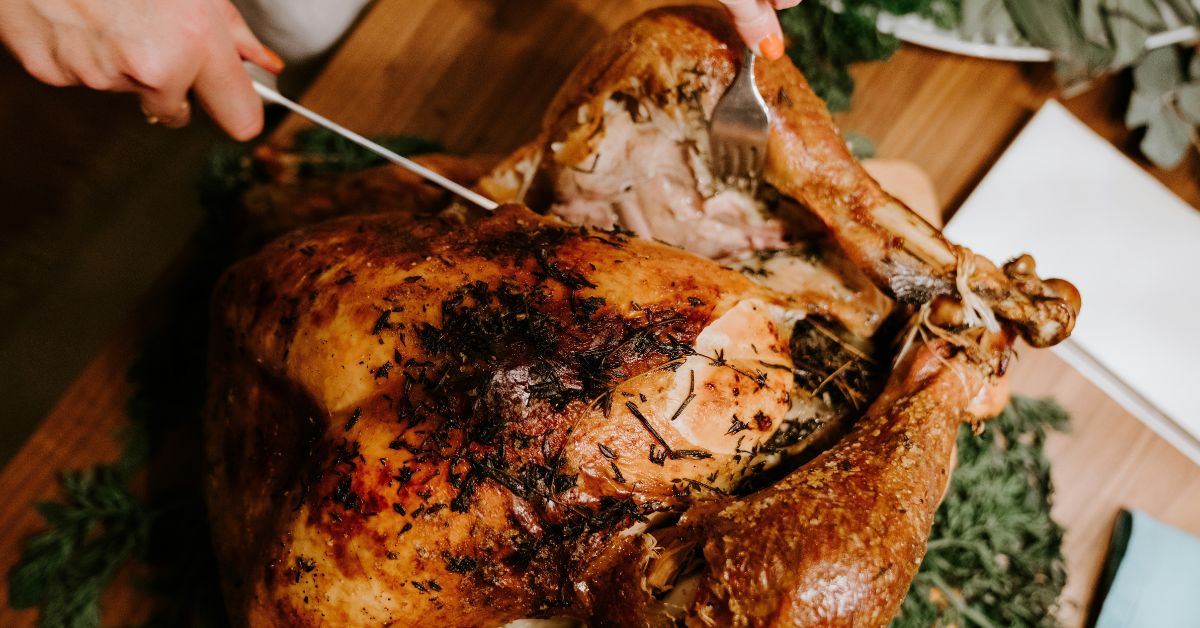
Once all three temperature checks hit the mark, the hard part is over. Let the turkey drain well, then give it about 20 minutes to rest before carving. Leave it uncovered or tent it loosely rather than wrapping it tightly, so all that crisp skin you worked for doesn’t soften under trapped steam.
While the turkey rests, leave the burner off and keep the fryer area protected. The meal may be ready, but the pot isn’t done being hot. A large volume of oil can remain dangerously hot long after cooking ends, so leave everything in place until it has cooled completely.
Only then should you move, strain, or store the oil. And when it’s time to dispose of used oil, never pour it down the drain.
Common Questions About Deep-Frying Turkey
What Is the Best Oil to Use?
Refined peanut oil is a popular choice, with canola oil another good option. Choose an oil made for high-temperature frying, check the label, and consider any food allergies. For the amount, use the cold-water test rather than relying on a fixed gallon estimate.
Can You Deep-Fry a Stuffed Turkey?
No. Fry the turkey with an empty cavity and cook the stuffing separately. The open cavity allows oil to circulate, while stuffing adds another food-safety concern.
Why Is the Skin Dark Before the Meat Is Done?
The oil may be too hot, or a thick, sugary seasoning may be browning faster than the meat cooks. Check both thermometers, keep the oil at the recommended temperature, and use the temperature of the breast, thigh, and wing, not the color of the skin, to judge doneness.
How Do You Store Leftover Fried Turkey?
Carve leftovers into smaller portions and refrigerate them in shallow containers within two hours, or one hour if the temperature is above 90°F (32°C). Use refrigerated turkey within three to four days or freeze it for longer storage. Reheat leftovers to 165°F (74°C).
Final Thoughts
Deep-frying a turkey takes a little more preparation than simply putting one in the oven, but the crisp skin and shorter cooking time can make the extra setup worthwhile.
We hope this guide has made how to deep fry a turkey feel a lot more manageable, especially if it’s your first time. Take your time with the preparation, follow your fryer’s instructions, and keep an eye on the temperature from start to finish.
Thanks for reading, and enjoy your turkey
By, Sean O'ConnorSean O'Connor is the lead writer at Batter Blaster, where he combines a lifelong passion for food with sharp research skills to bring readers the best in cooking tips, kitchen gear guides, and food insights. With a background in culinary journalism and a love for simplifying home cooking, Peter focuses on practical, approachable advice that helps real people cook with confidence.