How to Roast a Turkey in an Electric Roaster Oven
 Sean O'Connor
- 26 Sep 2026 10:47
- 4
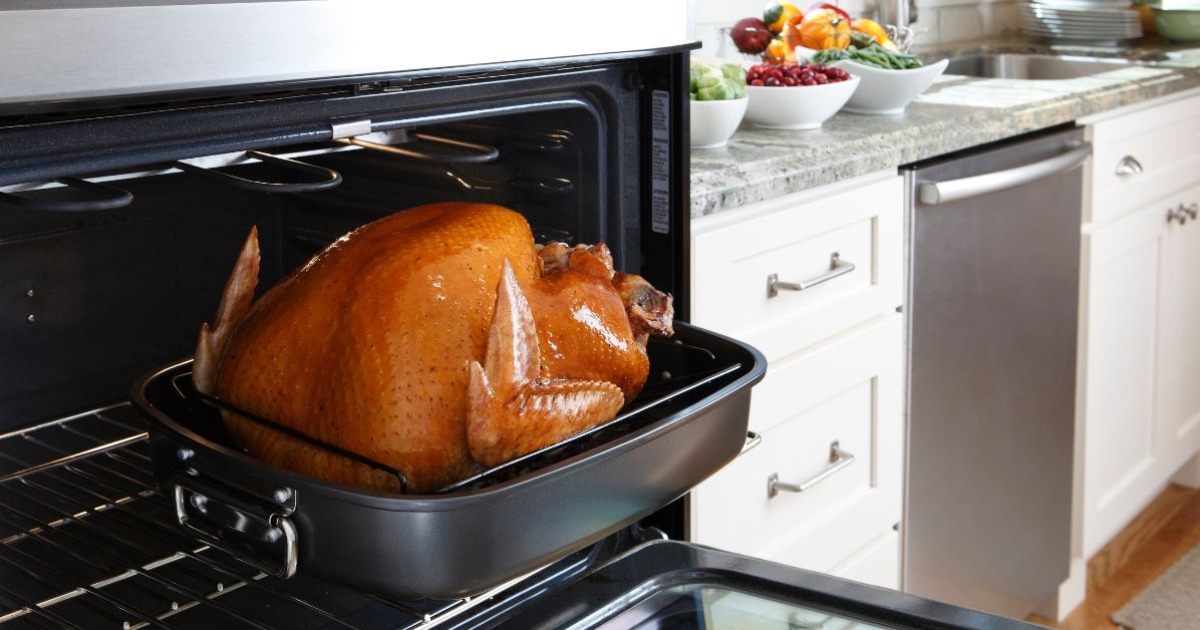
When Thanksgiving dinner has stuffing, casseroles, rolls, and pies all competing for oven space, putting the turkey somewhere else can make the whole day easier.
That’s where an electric roaster oven comes in. It sits on the countertop, has enough room for a whole turkey, and lets the bird cook without taking over your regular oven for hours. Because the covered roaster holds in moisture, it can also help keep the turkey from drying out.
The process is fairly simple, but an electric roaster isn’t exactly the same as a conventional oven. Before you start, check the instructions for your particular model, make sure your turkey fits comfortably, and keep a meat thermometer nearby. Cooking time is useful for planning, but temperature is what tells you when dinner is actually ready.
What You’ll Need
You don’t need much special equipment beyond the roaster itself:
- A fully thawed whole turkey
- Electric roaster oven with roasting rack and lid
- Oil or softened butter
- Salt and your preferred seasonings
- Paper towels
- Food thermometer
- Oven mitts
- A platter or cutting board for resting and carving
Choose a turkey that fits within your roaster manufacturer’s recommended capacity. You need enough room for the lid to close properly without pressing against the bird.
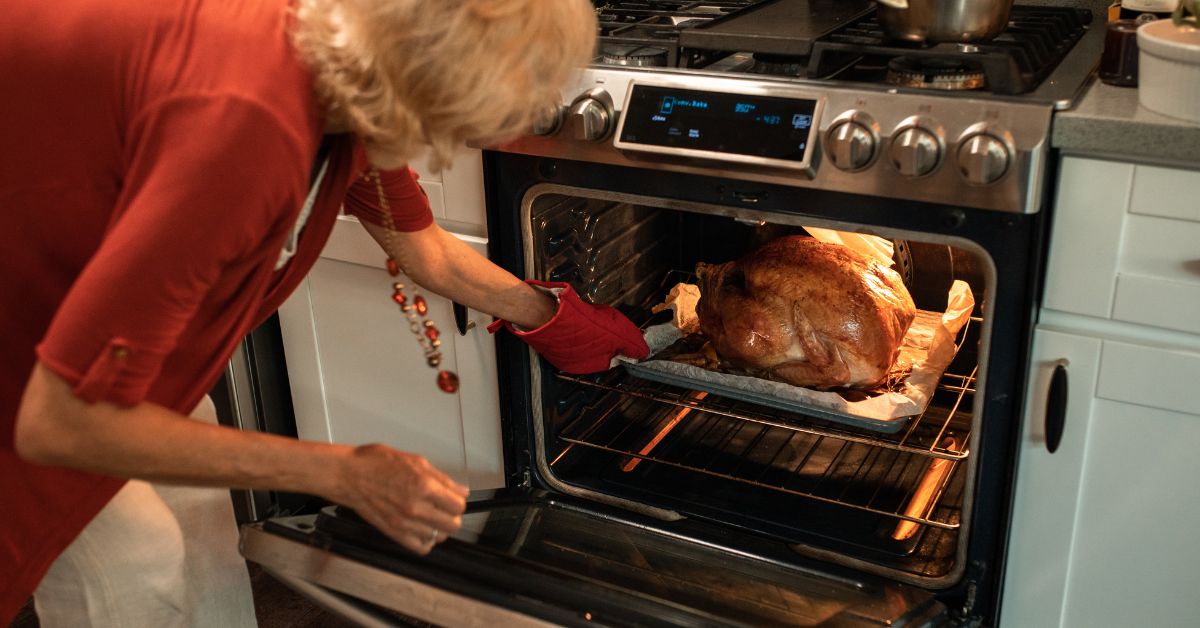
Before You Start: Check Your Roaster
Electric roasters aren’t all designed exactly the same way.
Some models have removable cooking pans, self-basting lids, or special settings, while others are much simpler. Preheating instructions can also vary. Follow your model’s manual when its directions differ from general roasting advice.
One thing you generally shouldn’t do is add water to the bottom just because the roaster looks dry. The turkey will release juices as it cooks, and some manufacturers specifically design their roasters to hold moisture inside. Add liquid only when your recipe or appliance instructions call for it.
USDA recommends cooking poultry at an oven temperature of at least 325°F, and the finished turkey must reach a safe internal temperature of 165°F.
How to Cook a Turkey in an Electric Roaster Oven
Step 1: Thaw the Turkey
Unless your particular roaster has a manufacturer-approved frozen-turkey or defrost setting, start with a fully thawed bird.
Remove the packaging, then take out the neck and giblets from the cavities. Check carefully, since there may be more than one packet.
Pat the turkey dry with paper towels. A drier surface also gives the butter or oil and seasonings something to hold onto.
Step 2: Preheat the Electric Roaster
Set up the roaster on a stable, heat-resistant surface with enough clearance around it.
Preheat it according to the manufacturer’s instructions. For roasting poultry, 325°F or above keeps you within USDA guidance, although your specific roaster recipe may call for a different temperature.
While it heats, you can finish preparing the bird.
Step 3: Season the Turkey
Rub the outside with a light coating of oil or softened butter, then season it however you like. Salt and black pepper are enough for a simple turkey, or you can add garlic, herbs, poultry seasoning, or another favorite blend.
You can place aromatics such as onion or herbs loosely inside the cavity for flavor.
For the easiest and most predictable cooking, prepare stuffing separately rather than packing the turkey cavity. If you do cook stuffing inside the bird, USDA says the center of the stuffing must also reach 165°F.
Step 4: Place the Turkey on the Rack
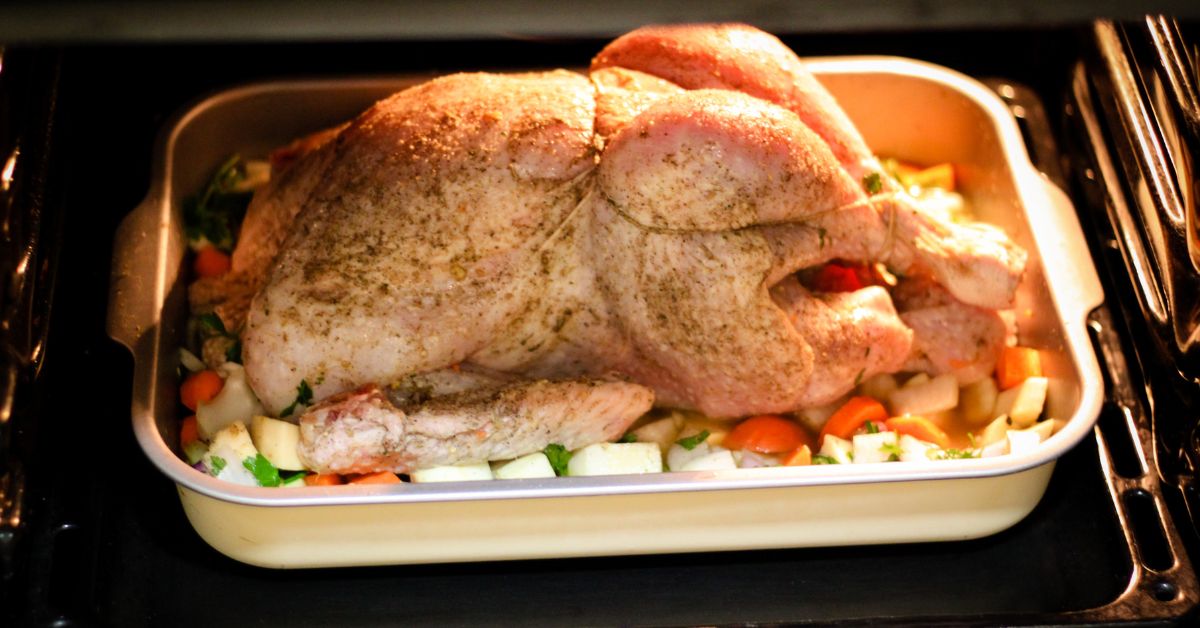
Set the turkey breast-side up on the roasting rack.
The rack keeps the bird above the juices that collect underneath and also makes it much easier to lift a heavy, hot turkey out when cooking is finished.
Step 5: Put the Lid On and Leave It Alone
This may be the hardest step if you’re used to checking food constantly.
Every time you lift the lid, heat and steam escape. That can slow down cooking and works against one of the main advantages of a covered electric roaster.
Some roasters even have self-basting lids designed to circulate moisture without frequent manual basting. Oster, for example, specifically notes that its self-basting models do not require hand basting.
Unless your particular recipe or roaster instructions tell you otherwise, resist the urge to keep opening the lid.
How Long Does a Turkey Take in an Electric Roaster?
There isn’t one cooking-time chart that can accurately cover every electric roaster.
Turkey size matters, but so do the appliance, cooking temperature, starting temperature of the bird, and how often you open the lid. Manufacturer guidance should therefore be your starting point for estimating when to begin checking.
More importantly, don’t use time alone to decide whether the turkey is done.
USDA says a whole turkey should reach at least 165°F in three places:
- The thickest part of the breast
- The innermost part of the thigh
- The innermost part of the wing
Keep the thermometer away from bone when taking a reading. If one area hasn’t reached the safe temperature yet, put the lid back on and continue cooking.
How Do You Get Crispy Skin in an Electric Roaster?
This is where an electric roaster can be a little different from your regular oven.
The covered environment does a good job of holding in moisture, but all that trapped steam can work against crisp skin. Your turkey may come out beautifully cooked without developing the deeply browned, crisp exterior you’d expect from an uncovered oven roast.
Start by drying the skin well and coating it lightly with oil or butter before cooking.
Beyond that, check your roaster’s instructions before changing temperatures or removing the lid for an extended period. Some models and recipes may recommend a higher-temperature stage for browning, while others work differently.
If crisp skin is especially important to you, it’s worth knowing about this trade-off before choosing the electric roaster method.
Let the Turkey Rest Before Carving
Once the turkey has reached a safe temperature, carefully lift the rack out of the roaster and transfer the bird to a platter or cutting board.
Then give it some time before reaching for the carving knife.
USDA recommends letting a roasted turkey stand for about 20 minutes before carving. Besides making the bird easier to carve, the rest gives the juices time to settle instead of immediately running onto the cutting board.
You can use those few minutes to finish the gravy, warm the last side dishes, or simply clear some counter space before carving.
Do You Need to Put Water in an Electric Roaster?
Usually, you shouldn’t assume that you do.
A turkey releases liquid as it cooks, and a covered electric roaster already creates a moist cooking environment. Pouring extra water into the insert can change the way the bird cooks and may leave you with more steaming than roasting.
The safest rule here is simple: follow the instructions for your roaster and recipe. If they call for liquid, add the specified amount. If they don’t, there’s no need to add water simply out of habit.
Can You Put a Frozen Turkey in an Electric Roaster?
This depends heavily on the appliance.
Some electric roasters are specifically designed with a defrost setting. Oster, for example, provides instructions for certain models that can take a turkey through a controlled defrosting stage before switching to roasting.
That does not mean every electric roaster can be used the same way.
If your manual doesn’t specifically say the appliance can handle a frozen turkey, use the normal thawing method rather than borrowing instructions from a different model.
Why Use an Electric Roaster for Turkey?
The biggest benefit may have nothing to do with the turkey itself: you get your oven back.
While the bird cooks on the countertop, your main oven stays available for stuffing, casseroles, vegetables, rolls, and anything else competing for space. That can be particularly useful for holiday meals when several dishes need to reach the table at roughly the same time.
The covered cooking environment also holds onto moisture well, and once the turkey is inside, there generally isn’t much hands-on work required.
The trade-off is browning. If deeply crisp skin is your priority, a conventional uncovered roast may have an advantage.
Final Thoughts
An electric roaster takes one of the biggest dishes of the day out of your main oven and gives it a cooking space of its own. For a busy holiday kitchen, that alone can make the method worth considering.
Keep the process simple: choose a turkey that fits your machine, follow the roaster’s instructions, avoid constantly lifting the lid, and use a food thermometer rather than the clock to judge doneness.
Once the breast, thigh, and wing have reached at least 165°F, let the turkey rest before carving. Then you can turn your attention back to the side dishes, with one very important piece of oven space still free.
By, Sean O'ConnorSean O'Connor is the lead writer at Batter Blaster, where he combines a lifelong passion for food with sharp research skills to bring readers the best in cooking tips, kitchen gear guides, and food insights. With a background in culinary journalism and a love for simplifying home cooking, Peter focuses on practical, approachable advice that helps real people cook with confidence.