How to Smoke a Turkey
 Sean O'Connor
- 24 Sep 2026 10:42
- 9
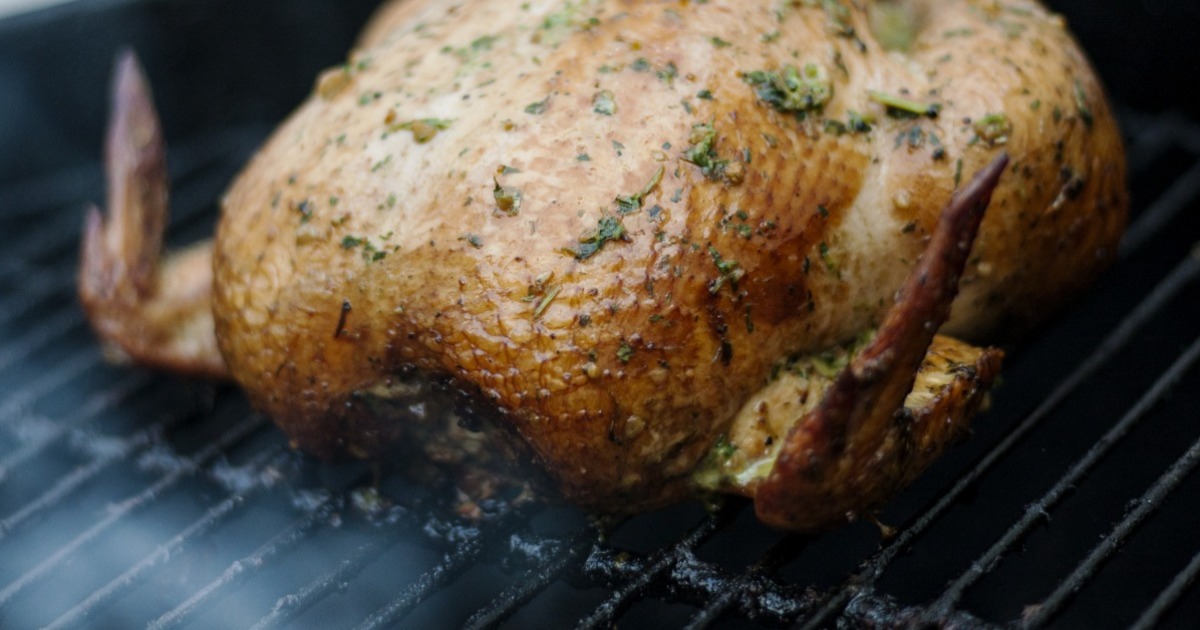
Smoking a turkey takes longer than roasting one in the oven, but most of that extra time doesn’t mean extra work. Once the bird is seasoned and the smoker is holding a steady temperature, the heat and smoke do much of the job for you.
The result is a turkey with a deeper, smoky flavor and a browned exterior that feels quite different from the usual oven-roasted bird. The trick is keeping the smoker hot enough, giving yourself plenty of time, and knowing when to trust the thermometer instead of the clock.
If this is your first smoked turkey, the process is more manageable than it may look. Here’s how to take it from a thawed bird to the carving board.
What You’ll Need
Before you fire up the smoker, gather everything you need so you’re not looking for equipment halfway through the cook.
- A fully thawed whole turkey
- Smoker
- Fuel for your smoker
- Hardwood or fruitwood suitable for smoking
- Oil or softened butter
- Salt and your preferred turkey seasonings
- Paper towels
- Food thermometer
- Smoker or grill thermometer
- Heat-resistant gloves or oven mitts
- Cutting board or serving platter
Two thermometers are especially useful here. USDA recommends monitoring both the temperature inside the smoker and the internal temperature of the meat.
Step 1: Start With a Fully Thawed Turkey
Don’t put a frozen or partially frozen turkey straight into the smoker.
Smoking uses relatively low cooking temperatures, so starting with a completely thawed bird is important for safe and even cooking. USDA specifically recommends fully thawing turkey before smoking.
Remove the packaging, neck, and giblets. Then pat the turkey thoroughly dry with paper towels.
There’s also no need to rinse the raw turkey. Washing poultry can splash bacteria around your sink and nearby surfaces rather than making the meat safer.
Step 2: Season the Turkey
You can keep the seasoning as simple or elaborate as you like.
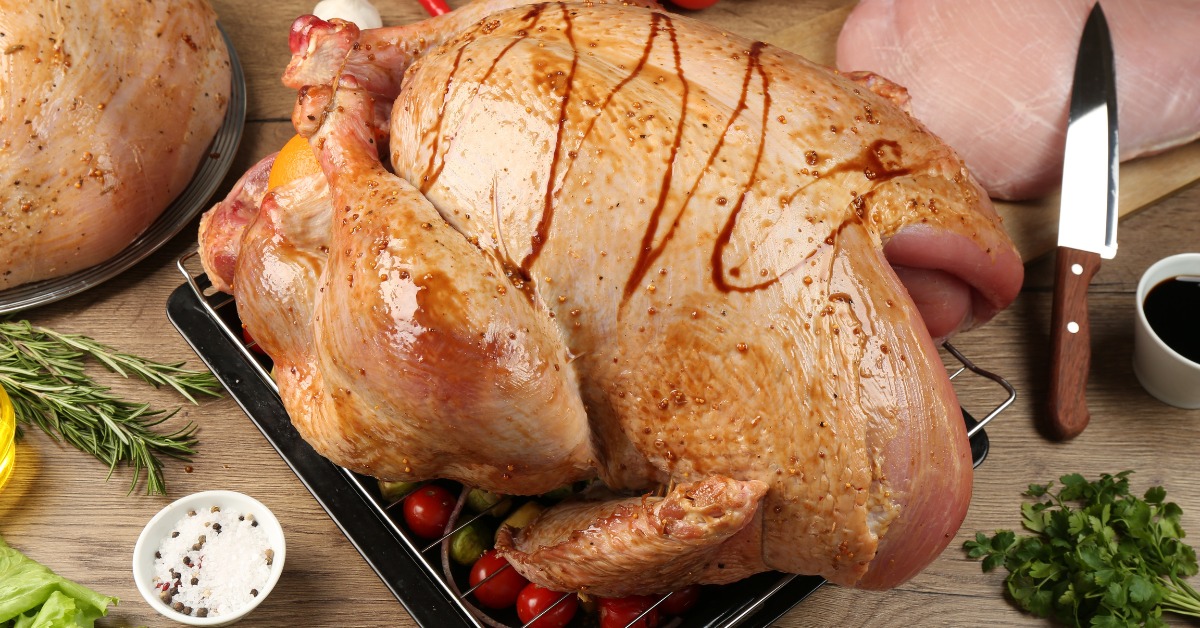
Start with a light coating of oil or softened butter over the outside, then add salt and your preferred seasoning blend. Black pepper, garlic, paprika, and herbs such as thyme, sage, or rosemary all work well with turkey.
Because the smoke itself brings plenty of flavor, you don’t necessarily need a long list of seasonings.
If you want to brine the turkey beforehand, you can, but check the packaging first. Some turkeys are already injected or treated with a salt solution, so adding a strong brine may leave the finished bird saltier than expected.
Most importantly, don’t stuff a turkey that you plan to smoke. USDA advises against it because the low smoking temperature can make it take too long for the stuffing to reach a safe temperature. Cook your stuffing separately instead.
Step 3: Preheat the Smoker
Bring the smoker to 225–300°F (107–149°C) before adding the turkey.
USDA recommends keeping the smoker within this range throughout cooking. If your smoker doesn’t have an accurate built-in temperature gauge, place an appliance thermometer at rack level so you can keep an eye on the actual cooking temperature.
Try to position the smoker somewhere protected from strong wind, which can make maintaining a steady temperature more difficult.
For electric or gas smokers, follow the manufacturer’s instructions for setup and operation.
Step 4: Choose Your Wood
Turkey has a fairly mild flavor, so it doesn’t take an especially aggressive smoke to make a noticeable difference.
Fruitwoods and hardwoods are commonly used. The exact choice comes down largely to the flavor you prefer.
Whatever you choose, use wood intended for smoking food. USDA warns against softwoods such as pine, fir, cedar, and spruce.
You also don’t need clouds of heavy smoke pouring out of the smoker for the entire cook. More smoke isn’t automatically better, and too much can overpower the turkey.
Step 5: Put the Turkey in the Smoker
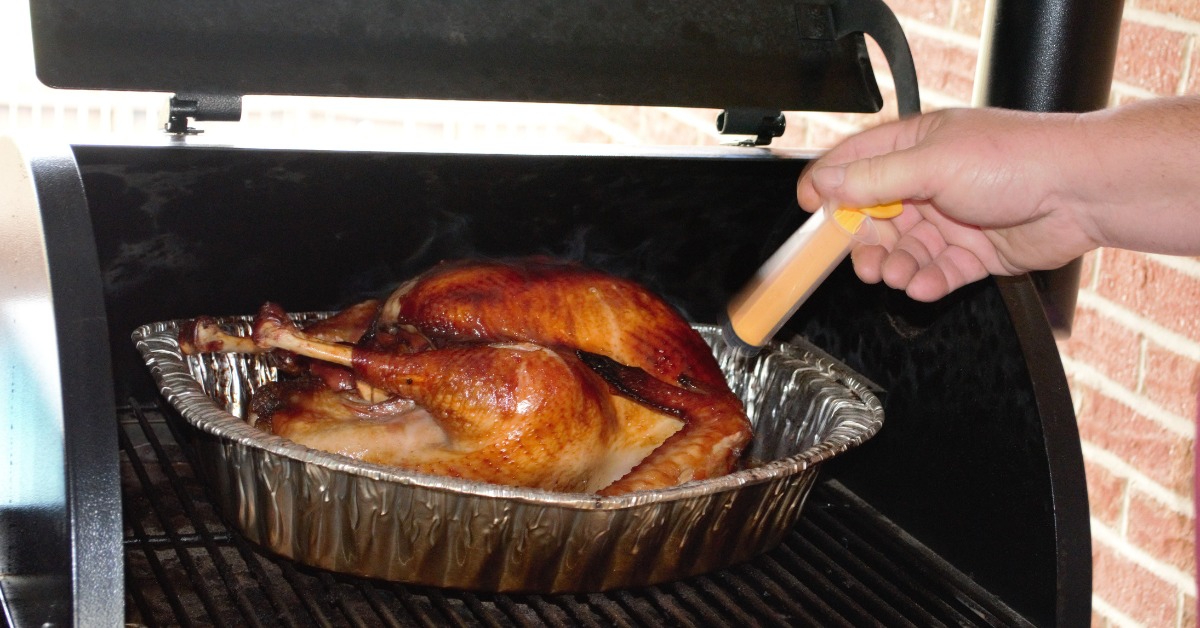
Place the bird on the smoker rack breast-side up, then close the lid promptly so you don’t lose too much heat.
If you’re using a leave-in meat thermometer, insert the probe into the thickest part of the breast without touching bone. You can monitor that reading as the turkey cooks, but you’ll
Step 6: Keep the Temperature Steady
Now comes the part that requires more patience than action.
Keep the smoker between 225 and 300°F and avoid opening it unnecessarily. Every time the lid comes off, heat escapes and the smoker has to recover.
If you’re using charcoal, you may need to add more during a long cook. USDA suggests checking and replenishing charcoal as necessary to maintain the proper temperature.
You may also need to replenish the water or other liquid in the smoker if your setup uses a water pan.
Rather than chasing an exact temperature every minute, focus on keeping the smoker safely within its recommended range.
How Long Does It Take to Smoke a Turkey?
As a planning estimate, USDA suggests allowing around 20 to 30 minutes per pound when smoking a turkey.
That gives you a rough idea of what the day might look like:
| Turkey Weight | Rough Smoking-Time Estimate |
| 8 lb | 2 hr 40 min–4 hr |
| 10 lb | 3 hr 20 min–5 hr |
| 12 lb | 4–6 hr |
| 14 lb | 4 hr 40 min–7 hr |
| 16 lb | 5 hr 20 min–8 hr |
Treat those numbers as planning estimates, not finish times.
The actual cook can change with the size and shape of the bird, smoker temperature, outdoor conditions, distance from the heat source, and the smoker itself. USDA specifically notes that several of these factors affect smoking time.
If dinner needs to be on the table at a particular hour, give yourself more time than the estimate suggests rather than planning for the turkey to finish at the last possible minute.
Step 7: Check the Internal Temperature
This is the step that decides when the turkey is done.
A smoked turkey is safely cooked when it reaches at least 165°F (73.9°C). USDA recommends checking three areas on a whole bird:
- The thickest part of the breast
- The innermost part of the thigh
- The innermost part of the wing
All three should reach the safe minimum temperature.
Keep the thermometer probe in the meat and away from bone when taking your readings.
If the breast says 165°F but the thigh hasn’t reached that temperature yet, the turkey isn’t finished. Close the smoker and give it more time.
This is also why the minutes-per-pound estimate should never replace a thermometer.
How Do You Get Crispy Skin on a Smoked Turkey?
Smoke flavor and crisp skin don’t always arrive together.
Turkey skin needs enough heat to render its fat and lose moisture. At the lower end of the smoking range, you may end up with fully cooked, flavorful meat but softer or more rubbery skin.
Drying the turkey thoroughly before seasoning helps. A light coating of oil can also encourage browning.
Maintaining a steady smoker temperature matters too. Constantly opening the lid to check the bird releases heat and can make the cook less consistent.
If crisp skin is a priority, avoid treating “low and slow” as a competition to see how low you can go. USDA recommends keeping the smoker between 225 and 300°F throughout the cooking process.
Do You Need to Brine a Turkey Before Smoking?
No. Brining is optional, not a requirement for smoking.
A brine can season the meat and affect how it retains moisture, but you can still make a good smoked turkey without one.
Before deciding, check the turkey label. If the bird has already been treated with a salt solution, adding another salty brine may be unnecessary.
A dry brine is another option if you want to season the turkey ahead of time without submerging it in liquid.
Should You Wrap a Turkey While Smoking?
You generally don’t need to begin the cook with the turkey wrapped.
Leaving the surface exposed allows smoke to reach the bird and helps the exterior develop color.
During a long cook, some recipes use foil later to protect areas that are browning faster than desired. Whether that’s necessary depends on how your particular turkey is cooking.
Rather than automatically wrapping at a certain hour, keep an eye on the bird and respond to what you see.
The Bottom Line
Smoking a turkey isn’t difficult, but it rewards patience more than constant attention.
Start with a fully thawed, unstuffed bird, season it the way you like, and get the smoker stable between 225 and 300°F before the turkey goes in. From there, focus on maintaining the heat rather than repeatedly opening the smoker to check your progress.
Use 20 to 30 minutes per pound to help plan your day, but don’t use the clock to decide when the turkey is finished. Check the breast, thigh, and wing with a food thermometer and make sure each has reached at least 165°F.
Get those basics right, and the smoker can take care of the part you’re really there for: giving the turkey that slow-cooked, smoky flavor you simply don’t get from an ordinary oven.
By, Sean O'ConnorSean O'Connor is the lead writer at Batter Blaster, where he combines a lifelong passion for food with sharp research skills to bring readers the best in cooking tips, kitchen gear guides, and food insights. With a background in culinary journalism and a love for simplifying home cooking, Peter focuses on practical, approachable advice that helps real people cook with confidence.