How to Use a Meat Thermometer (and Read It Right)
 Sean O'Connor
- 31 Oct 2026 10:13
- 8
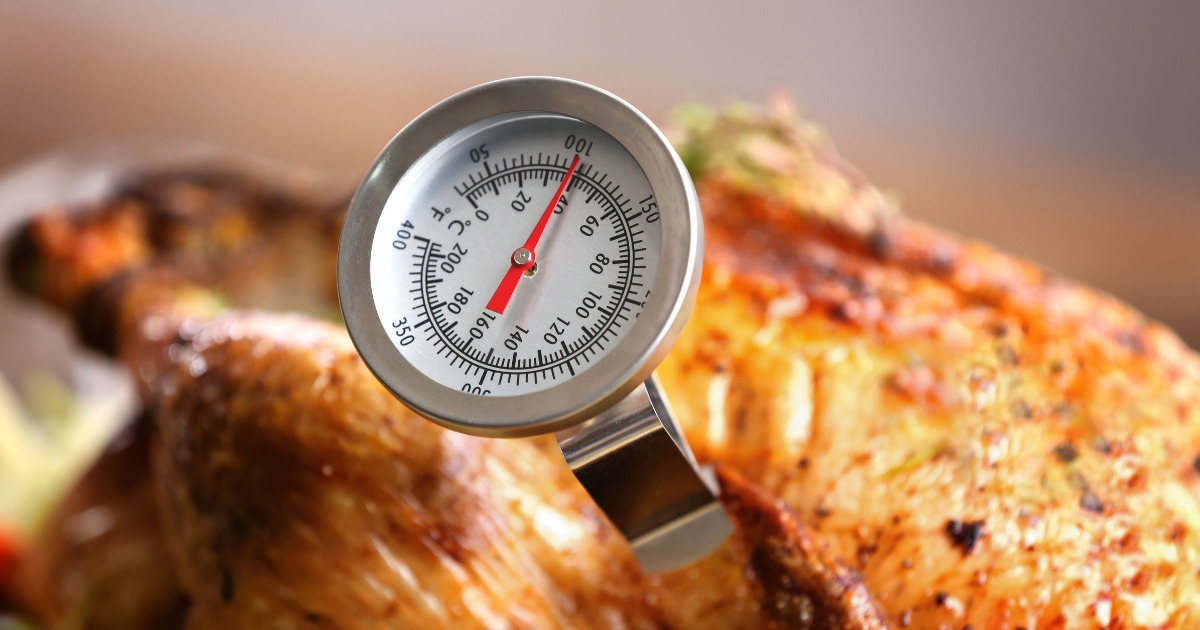
A meat thermometer can tell you whether dinner is ready in seconds. But only if you put it in the right place.
Push the probe too far, hit a bone, or measure a thin edge instead of the center, and the number on the screen may not tell you much about the meat at all.
The good news is that using one correctly isn't complicated. Find the part of the food that will finish last, get the sensing area of the probe into it, and give the thermometer enough time to settle.
Here's how to get a reading you can actually trust.
1. Know Where Your Thermometer Actually Measures
The pointed tip helps the probe enter the food, but the temperature isn't necessarily measured at that exact point.
Different thermometers have different sensing areas.
On many digital instant-read models, the sensor is located near the tip. Some dial thermometers, however, need to be inserted several inches because they measure temperature along a larger section of the stem.
That matters with thinner foods.
A thick roast gives you plenty of room to insert a long probe. A burger or chicken breast doesn't.
Before using a new thermometer, check its instructions to see how much of the probe needs to be inside the food for an accurate reading.
Once you know that, the next question is where to put it.
2. Aim for the Thickest Part
For most meat, start with the thickest section.
That's usually the area that takes longest to heat, so it's a better indicator of whether the food has cooked through than a thin edge.
Insert the probe far enough to place its sensing area near the center of that section.
Try not to touch:
- Bone
- The cooking pan
- A grill grate
- Large pockets of fat
These can heat differently from the surrounding meat and give you a misleading reading.
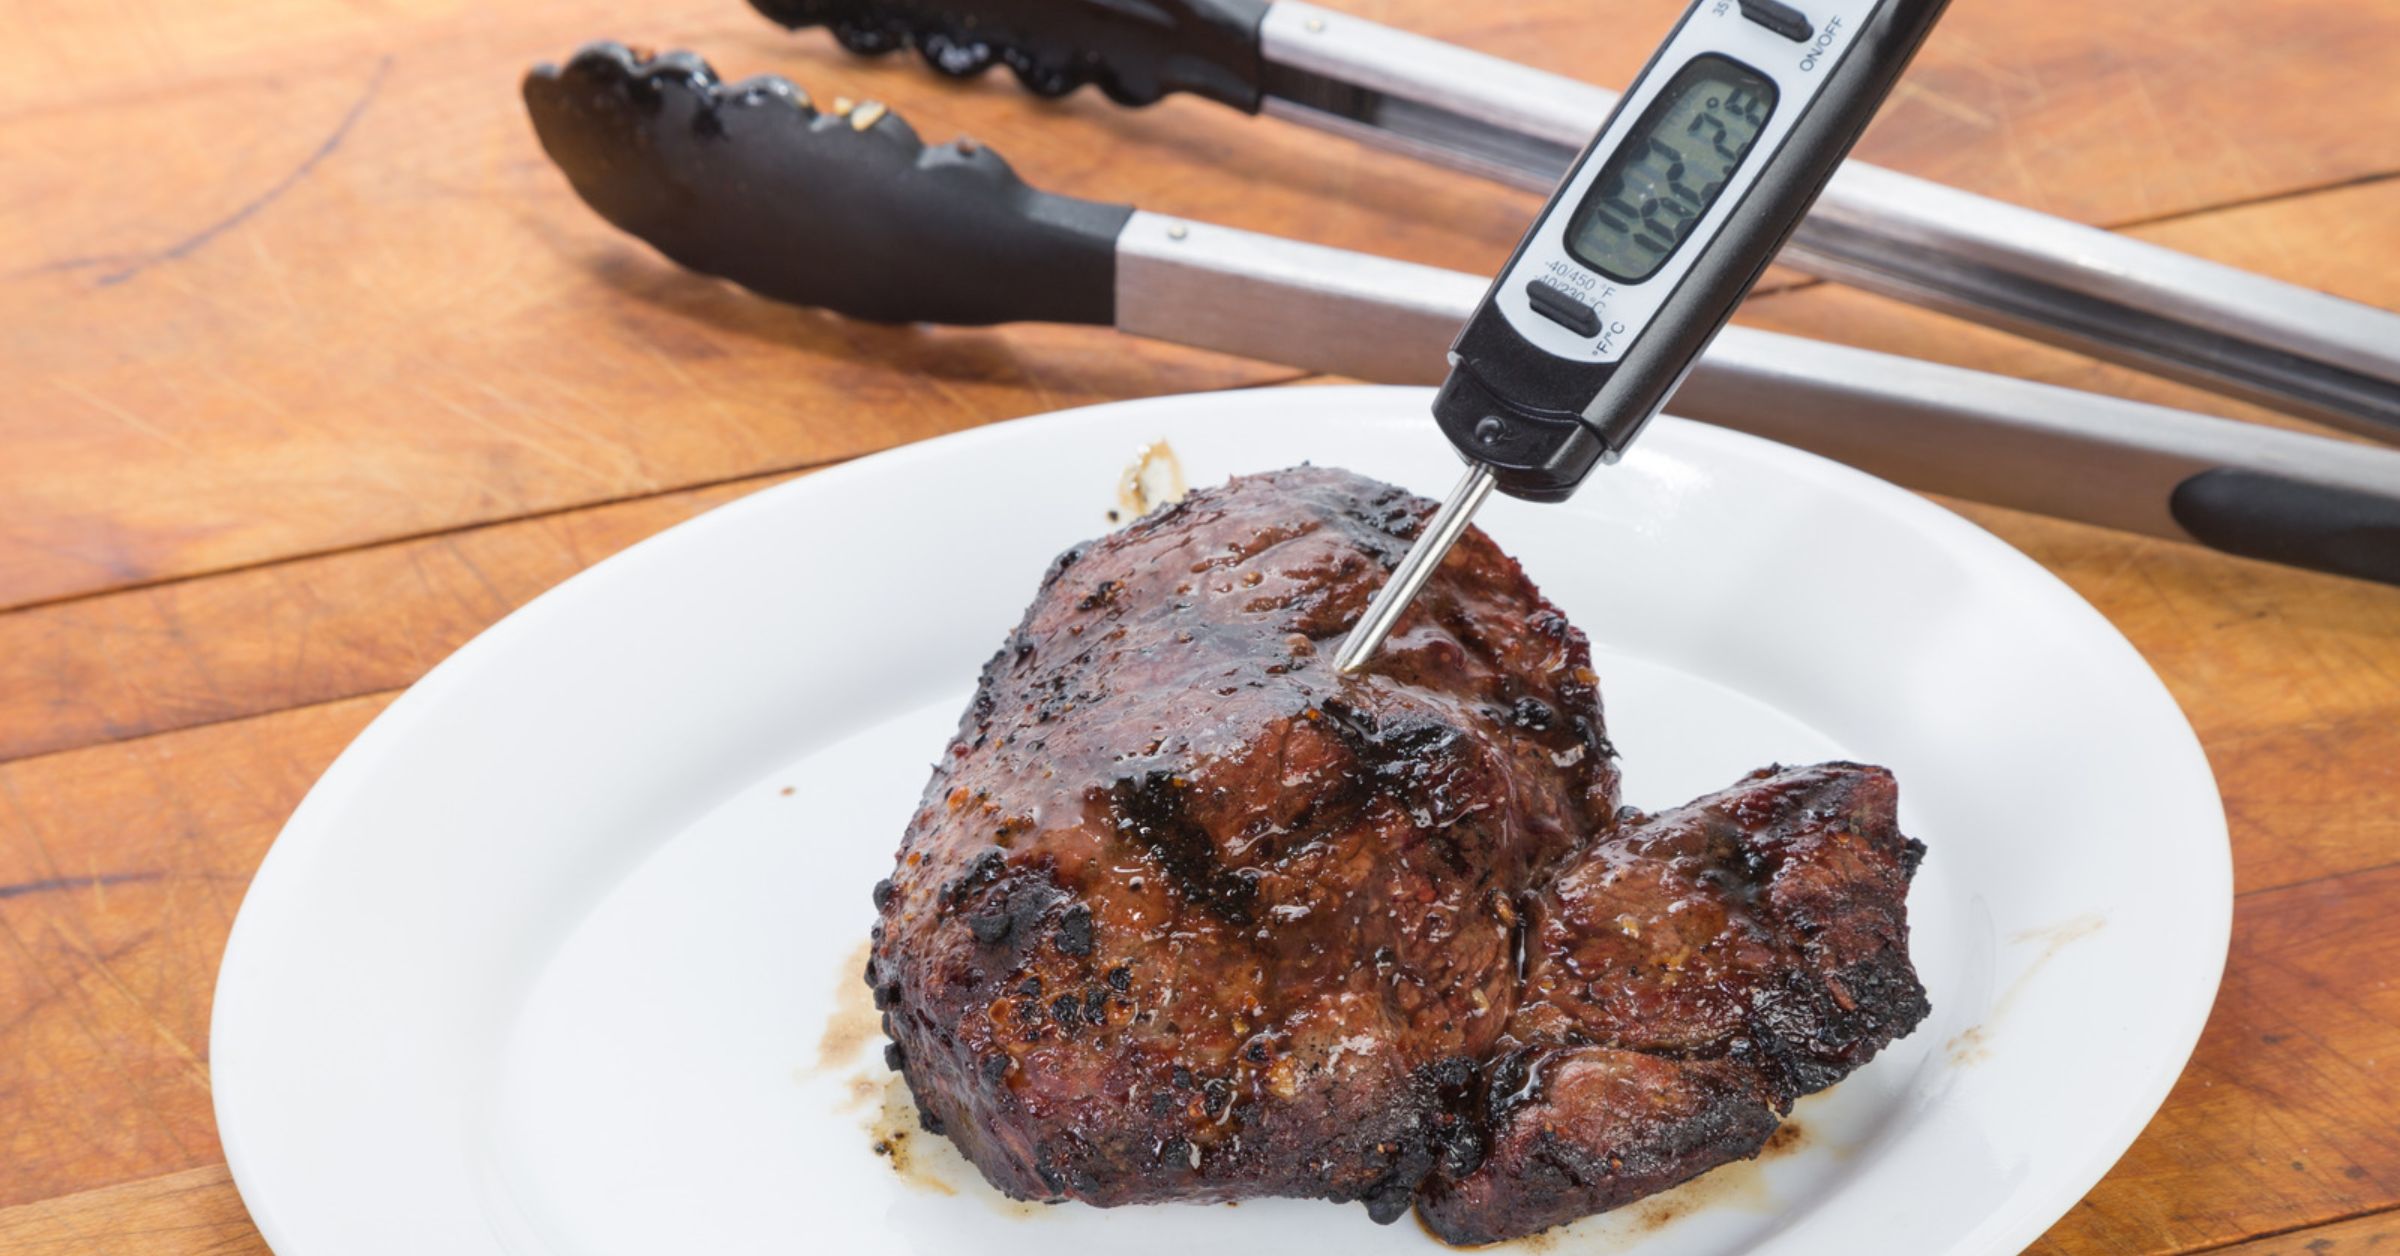
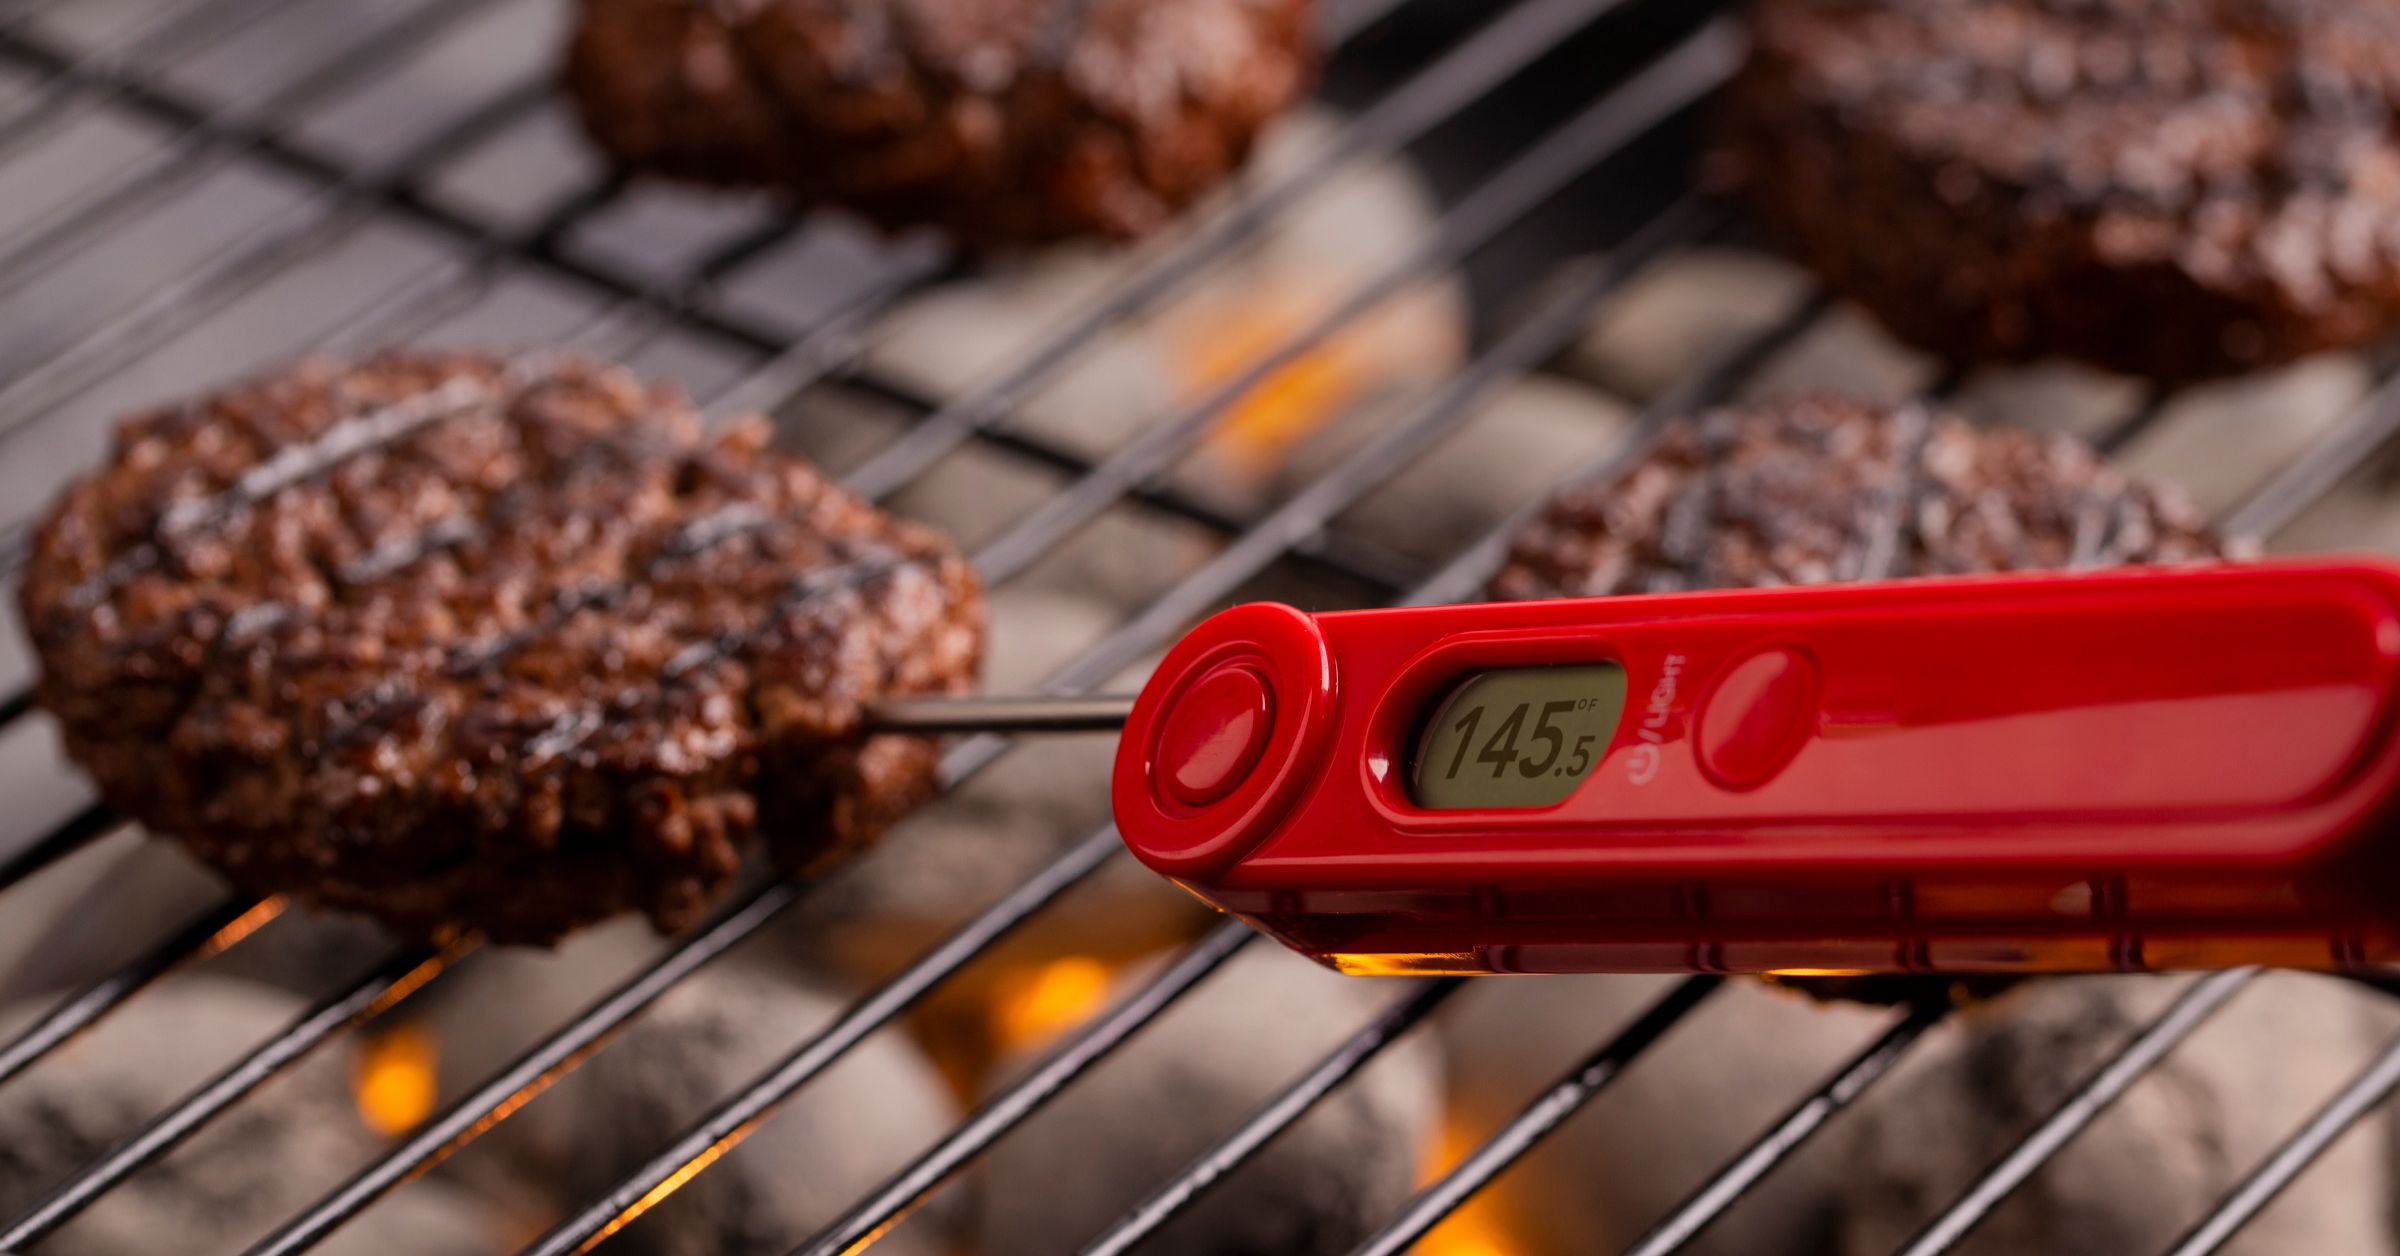
For steaks, chops, burgers, and other relatively thin foods, inserting the thermometer from the side can make it easier to reach the center without pushing the probe straight through.
3. Don't Stop at the First Number You See
Insert the thermometer and watch what happens.
With a digital instant-read thermometer, the number will usually move quickly before slowing down or stabilizing. That settled reading is the one you're interested in.
Don't pull the probe out the instant a number appears on the display.
The same principle applies to a dial thermometer, although it may take longer to respond.
If the reading seems surprisingly high or low, reposition the probe slightly and check again. You may have hit a warmer or cooler pocket within the food. For a large piece of meat, checking more than one location is often worthwhile.
You're not looking for the most convenient number. You're trying to find the coolest relevant part that still needs to finish cooking.
4. Check Whole Poultry in More Than One Place
A whole chicken or turkey isn't one uniform piece of meat.
The breast, thighs, and wings have different shapes and thicknesses, so one reading can't always tell you what's happening everywhere.
USDA recommends checking the internal temperature of whole poultry in three places:
- The thickest part of the breast
- The innermost part of the thigh
- The innermost part of the wing
Each should reach at least 165°F (73.9°C).
Keep the probe away from bone when taking those measurements.
If the bird is stuffed, USDA also recommends checking the center of the stuffing and making sure it reaches 165°F.
5. Know What Temperature You're Looking For
A perfect thermometer reading isn't useful if you're comparing it with the wrong target.
USDA minimum safe internal temperatures vary depending on what you're cooking.
| Food | Minimum Internal Temperature |
| Beef, pork, veal, and lamb steaks, chops, and roasts | 145°F + 3-minute rest |
| Ground beef, pork, veal, and lamb | 160°F |
| Poultry, including chicken and turkey | 165°F |
| Ground poultry | 165°F |
| Leftovers and casseroles | 165°F |
There is an important distinction here:
Safe temperature and preferred doneness aren't always the same question.
A steak, for example, may be cooked to a particular level of doneness based on preference, while food-safety guidance establishes minimum temperatures for safe preparation.
So before you start checking, know which target applies to the food you're cooking.
6. Start Checking Before You Think the Food Is Done
Waiting until the recipe's exact cooking time has passed can leave you with overcooked meat.
Cooking times are estimates.
The size and shape of the food, starting temperature, oven performance, grill temperature, cookware, and even where the food sits in the oven can affect how quickly it cooks.
If a recipe suggests your roast will take two hours, start checking somewhat earlier rather than treating two hours as a finish line.
Once the meat is getting close, check more frequently.
This is where a thermometer becomes more useful than the clock: time tells you when to start looking; temperature tells you what's actually happening inside the food.
7. Remember That Temperature Can Keep Rising After Cooking
Taking meat off the heat doesn't instantly stop the cooking process.
Heat from the hotter exterior continues moving toward the cooler center, which can cause the internal temperature to rise during resting. This is commonly called carryover cooking.
How much the temperature rises varies with the food. A large roast can behave differently from a thin steak, so there isn't one number you should automatically subtract from every target temperature.
For food-safety decisions, follow the safe minimum temperature and rest-time guidance that applies to the specific meat you're cooking rather than guessing at carryover.
For recipes that intentionally account for carryover cooking, follow their instructions and verify the temperature with your thermometer.
8. If the Reading Looks Wrong, Check the Thermometer
Sometimes the food isn't the problem.
If your thermometer suddenly gives readings that seem consistently unrealistic, check its accuracy.
One common test is an ice-water check. Fill a glass with plenty of ice, add cold water, stir, and let it sit briefly. Place the sensing area of the probe in the ice water without touching the sides or bottom of the glass.
It should read close to 32°F (0°C).
Some thermometers can be calibrated if they're off. Others may need to be reset or replaced, depending on the model.
It's worth checking periodically, especially if the thermometer has been dropped or exposed to heat beyond its rated limit.
The Bottom Line
Using a meat thermometer well comes down to more than reaching a certain number.
Put the sensing area in the thickest part of the meat, avoid bone and cookware, wait for the reading to settle, and check more than one spot when the food is large or uneven.
Once you get used to doing that, the thermometer stops being something you use only when you're worried about undercooked chicken. It becomes one of the easiest ways to stop guessing whether dinner is actually done.
By, Sean O'ConnorSean O'Connor is the lead writer at Batter Blaster, where he combines a lifelong passion for food with sharp research skills to bring readers the best in cooking tips, kitchen gear guides, and food insights. With a background in culinary journalism and a love for simplifying home cooking, Peter focuses on practical, approachable advice that helps real people cook with confidence.