How to Use a Vacuum Sealer
 Sean O'Connor
- 02 Nov 2026 10:42
- 7
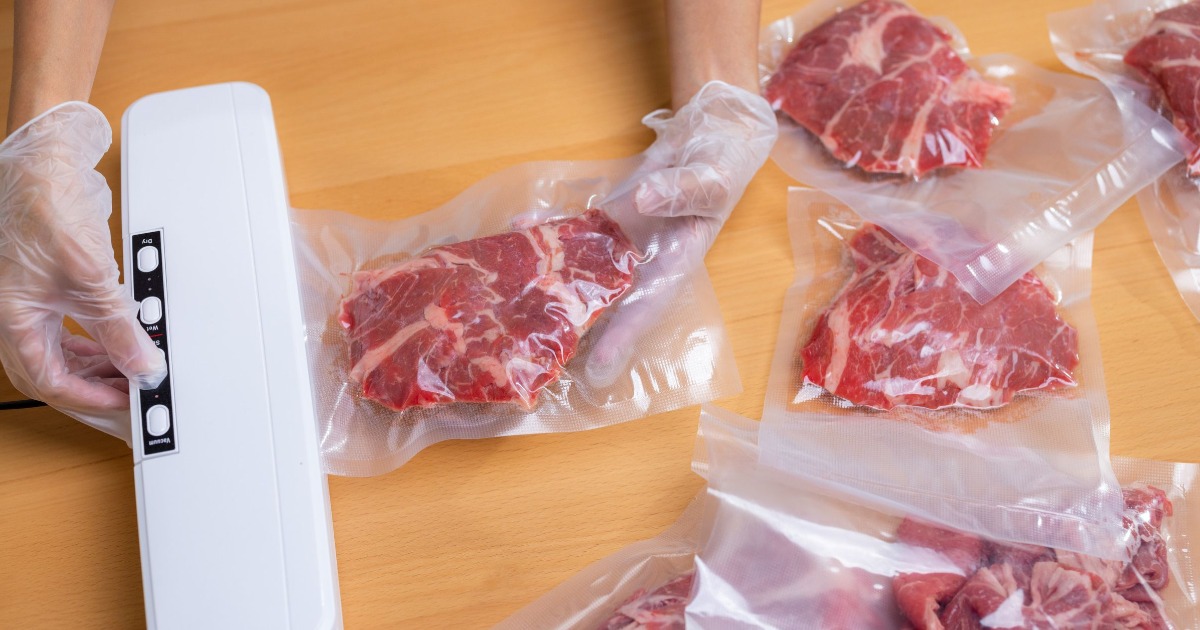
Vacuum sealing seems straightforward until you try it for the first time.
The machine starts humming, the bag begins to shrink... and then nothing. There's still air around the food, liquid is creeping toward the machine, or the seal looks like it might open the moment you put it in the freezer.
The trick isn't pressing the right button. It's giving the machine a clean, properly positioned bag to work with.
Once you get that part right, the rest is surprisingly easy.
How to Use a Vacuum Sealer in 5 Steps
1. Prepare Your Bag
Start with a bag or roll that's compatible with your vacuum sealer.
Most external countertop sealers require textured vacuum bags that contain tiny channels for air to escape. A regular smooth plastic bag may prevent the machine from pulling a proper vacuum.
Pre-cut bags are ready to fill.
If you're using a roll, cut off the length you need and leave some extra material at the top. Then seal one end to create your bag.
Don't try to save an inch of plastic by making the bag fit perfectly around the food. You need empty space at the opening so the machine can grip, vacuum, and seal it properly.
2. Add the Food, but Keep the Top Clean
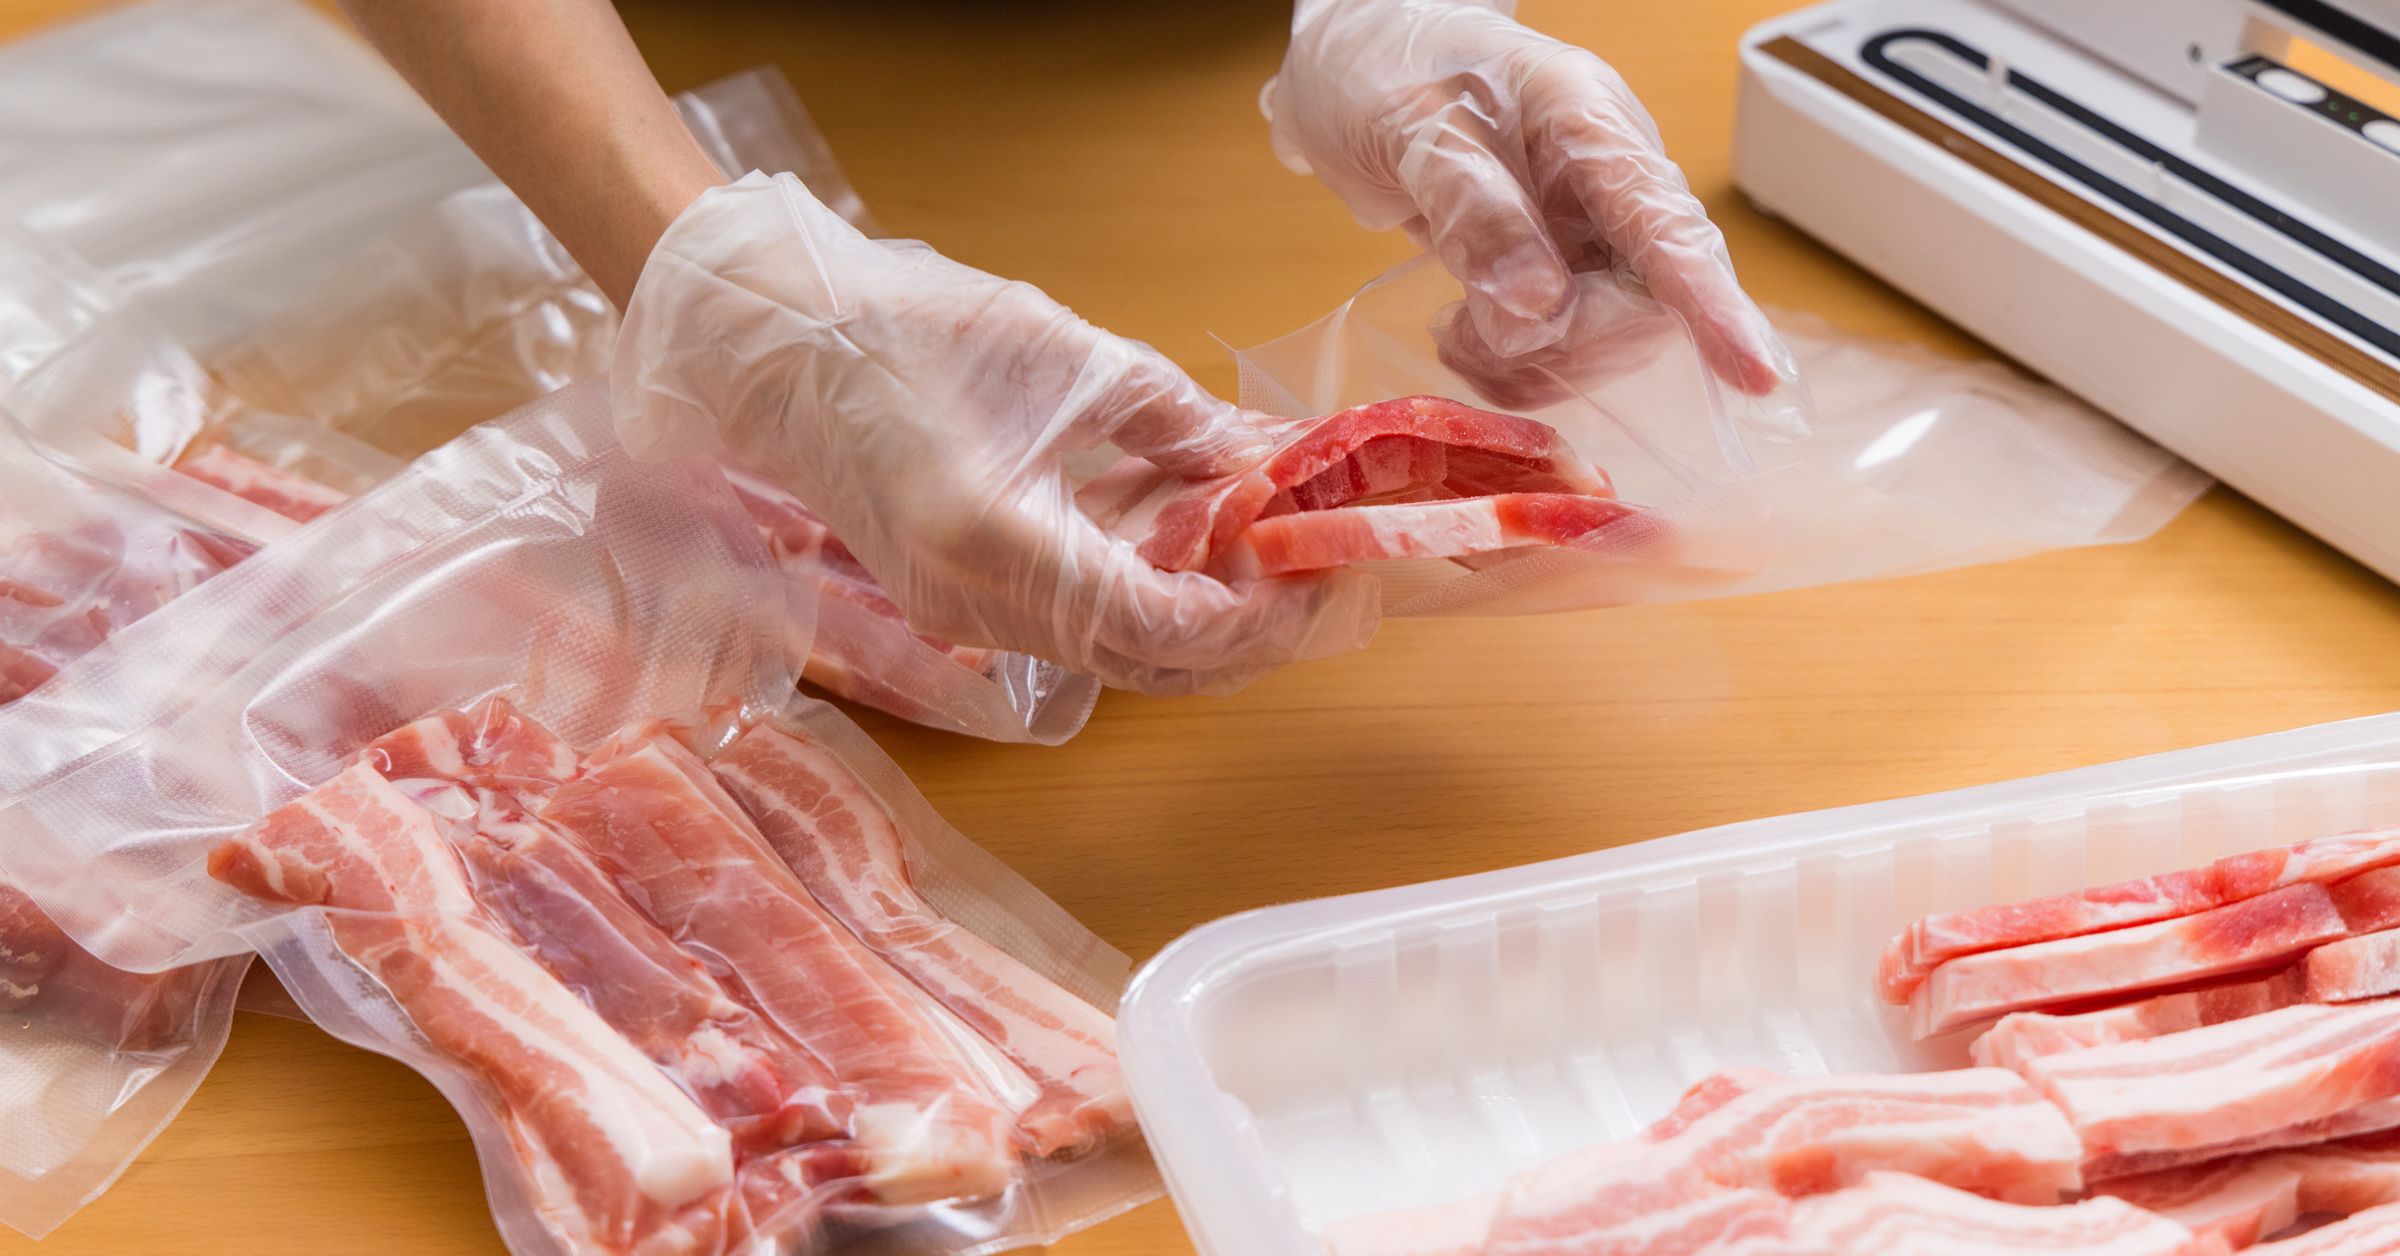
Put the food into the bag without packing it all the way to the opening.
The area where the final seal will form should be flat, clean, and as dry as possible.
Grease, crumbs, marinade, and wrinkles can all get in the way.
If you're packaging something messy, fold the top few inches of the bag outward before adding the food. When you're finished, unfold it and you'll still have a clean surface for sealing.
This little habit can save a surprising number of failed bags.
3. Place the Bag in the Sealer
Open the machine and position the unsealed end where your model requires it.
On many external vacuum sealers, the opening sits inside a vacuum channel or drip tray.
Lay the plastic flat. Smooth away folds or wrinkles, then close and lock the machine if required.
Now select the appropriate setting and start the Vacuum & Seal cycle.
You'll see the bag tighten around the food as air is removed. Once enough air has been pulled out, the machine seals the opening.
Let the entire cycle finish before opening the lid.
4. Check Your Work
Before putting the package away, give it a ten-second inspection.
First, look at the bag.
It should sit closely around the food rather than puffing up with obvious pockets of air.
Then look at the seal.
You want a continuous line running across the entire opening without gaps, wrinkles, food, or moisture crossing through it.
If the bag looks good but the seal makes you nervous, some users choose to add a second seal above the first when there's enough clean plastic available.
If the bag starts loosening shortly after sealing, however, don't just add another line and hope for the best. Check for a puncture or a failed section of the original seal.
5. Label It and Store It Properly
Vacuum sealing doesn't turn perishable food into pantry food.
Raw meat, seafood, leftovers, and other foods that normally require refrigeration or freezing still need to be kept at safe temperatures after they're sealed.
Before storing the package, label it with the food and date.
You can add other useful details too:
- Portion size
- Marinade or seasoning
- Raw or cooked
- Cooking instructions
This matters more once your freezer starts filling with nearly identical flat packages.
The One Part That Gets Tricky: Moisture
Dry foods are usually straightforward. Wet foods are where vacuum sealing becomes more interesting.
As the machine removes air, liquid can travel toward the open end of the bag. If it reaches the sealing area, you may get a weak seal. Pull enough liquid through and you can also make a mess inside some machines.
For moist meat, pat away excess surface liquid before bagging it.
If your machine has Moist, Pulse, or manual vacuum controls, use them according to its instructions. For very wet foods, another option is to partially freeze them first.
Soup and sauce are easier still if you freeze them in portions before vacuum sealing. Instead of asking the machine to control a moving liquid, you're sealing a solid frozen portion.
The exact method depends on your sealer, so check the manufacturer's instructions before vacuum sealing liquids.
Why Isn't My Vacuum Sealer Removing All the Air?
When a bag refuses to tighten, start with the simple things.
Check that the opening is sitting in the correct part of the machine and that the plastic is flat. Make sure you're using bags designed for your type of sealer.
Then inspect the bag itself.
A tiny puncture from a bone or sharp piece of food can let air back in almost as quickly as the machine removes it.
If the bag vacuums normally but becomes loose later, the problem is more likely a leak or failed seal than the vacuum cycle itself.
Should you freeze meat before vacuum sealing it?
You don't have to freeze ordinary meat before sealing it.
However, partially freezing particularly juicy meat can make the process easier because less liquid gets pulled toward the machine.
You can also vacuum seal fresh meat first and then freeze the sealed package.
Can you reseal a vacuum sealer bag?
Sometimes.
If there's enough clean material left and the bag is still in good condition, some vacuum sealer bags can be cut open and resealed.
Whether reuse is appropriate also depends on what was stored inside. Follow the bag manufacturer's food-safety and reuse instructions, particularly after storing raw meat, poultry, fish, or greasy foods.
The Bottom Line
Using a vacuum sealer isn't really about mastering a complicated appliance.
Give it the right bag, keep the sealing area clean, position the opening correctly, and check the finished seal before the food goes into storage.
After a few bags, those steps become automatic. And that's when a vacuum sealer goes from being another appliance on the counter to something you actually use.
By, Sean O'ConnorSean O'Connor is the lead writer at Batter Blaster, where he combines a lifelong passion for food with sharp research skills to bring readers the best in cooking tips, kitchen gear guides, and food insights. With a background in culinary journalism and a love for simplifying home cooking, Peter focuses on practical, approachable advice that helps real people cook with confidence.