How to Use an Electric Turkey Fryer
 Sean O'Connor
- 24 Oct 2026 15:20
- 3
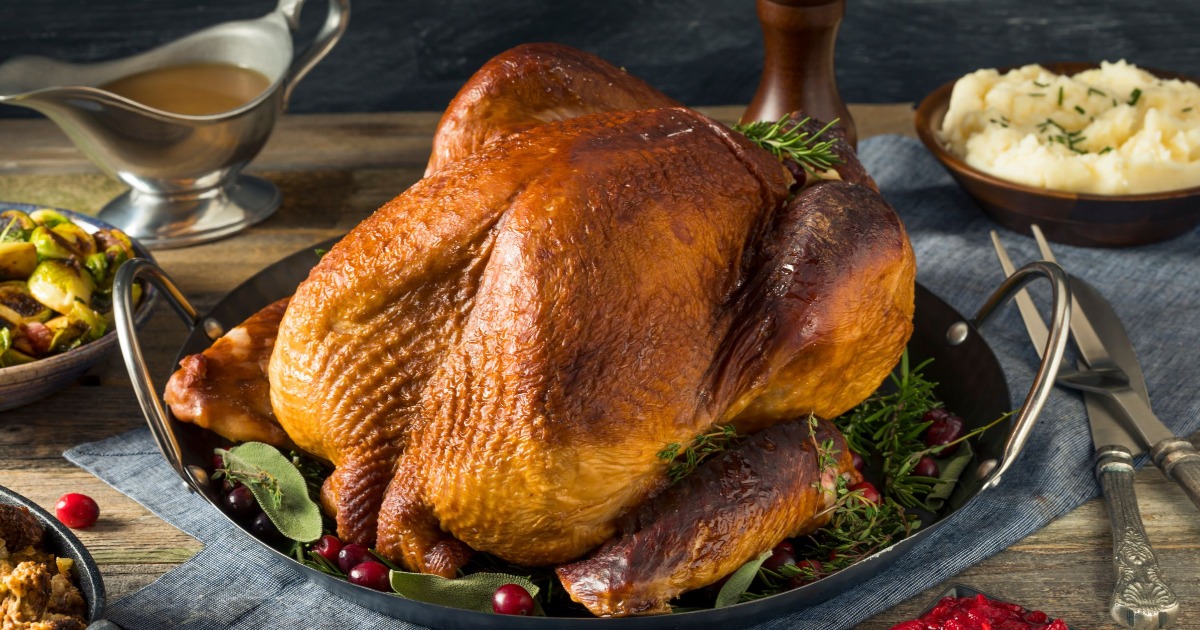
An electric turkey fryer takes some of the guesswork out of deep-frying a whole bird. There's no propane burner to manage, the temperature is controlled for you, and the basket makes lowering and removing the turkey more manageable.
But it's still a container of very hot oil, so the order of operations matters.
If you're using a Butterball electric fryer made by Masterbuilt, here's how the process works from setup to carving.
Before you start: Butterball/Masterbuilt electric fryers have been sold in different sizes and versions over the years. Turkey capacity, oil quantity, basket position, and operating instructions can vary, so use your model's manual as the final authority.
1. Set Up the Fryer
Place the fryer on a stable, level surface with enough room to work comfortably around it.
Whether the fryer belongs indoors or outdoors depends on the model. For example, Masterbuilt specifies that its 10L XL electric fryer is for indoor use only, so don't assume electric automatically means either indoor- or outdoor-safe. Check your manual first.
Make sure the drain valve is fully closed before adding oil.
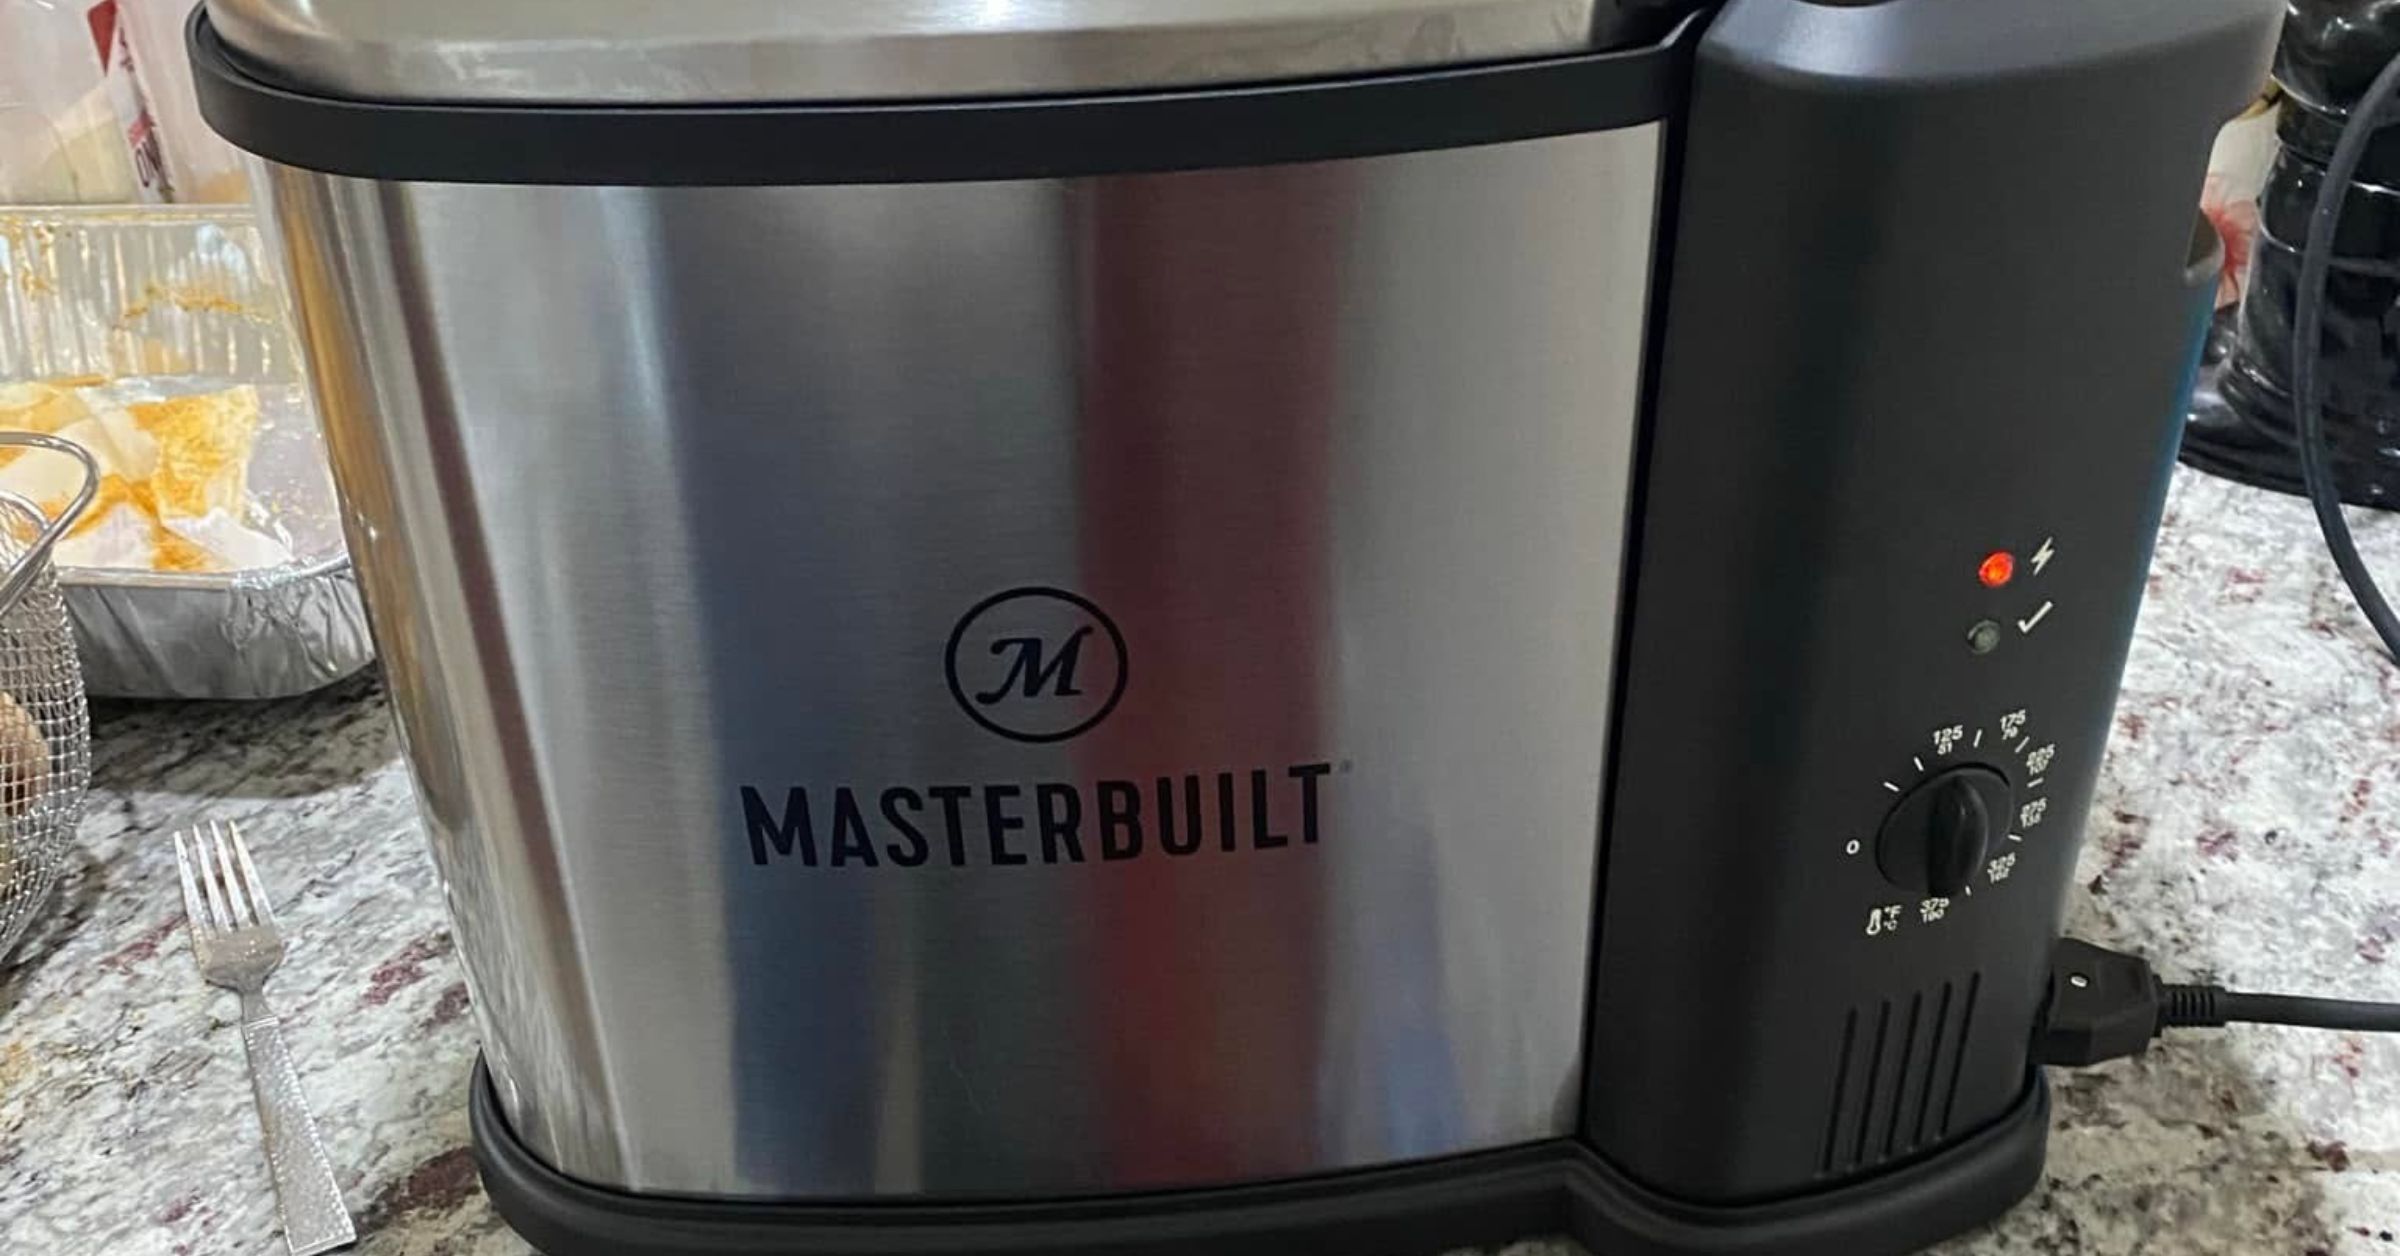
Assemble the fryer and basket according to the manual, then connect the control panel correctly. On compatible Masterbuilt units, the control panel must engage the safety switch before the fryer will power on.
Plug the fryer directly into a suitable outlet whenever possible. Masterbuilt does not recommend using an extension cord.
2. Add the Oil
Don't estimate the oil level based on the size of the turkey.
Electric fryers are designed with a maximum fill line, and the oil should never go above it.
The amount varies by model. Masterbuilt lists approximately:
- 1.3 gallons for the Butterball 5L fryer
- 2 gallons for the regular Butterball electric fryer
- 2.75–3 gallons for the XL model
Peanut oil is a popular choice because of its high smoke point and mild flavor. Canola and vegetable oil are other options commonly used for deep-frying.
The easiest rule here is simple: follow the fill line on your fryer rather than calculating your own oil volume.
3. Preheat the Oil
With the lid closed, set the fryer to the temperature specified for your model and recipe.
For the Butterball electric fryer manual, the oil is preheated to 375°F before the turkey goes in. A green READY light indicates when the set temperature has been reached.
Don't expect this to happen instantly.
Depending on the model, Masterbuilt says preheating can take roughly 30 to 45 minutes, with XL models generally taking around 40 to 45 minutes.
Use that time to finish preparing the turkey rather than waiting until the oil is hot to start.
4. Get the Turkey Ready
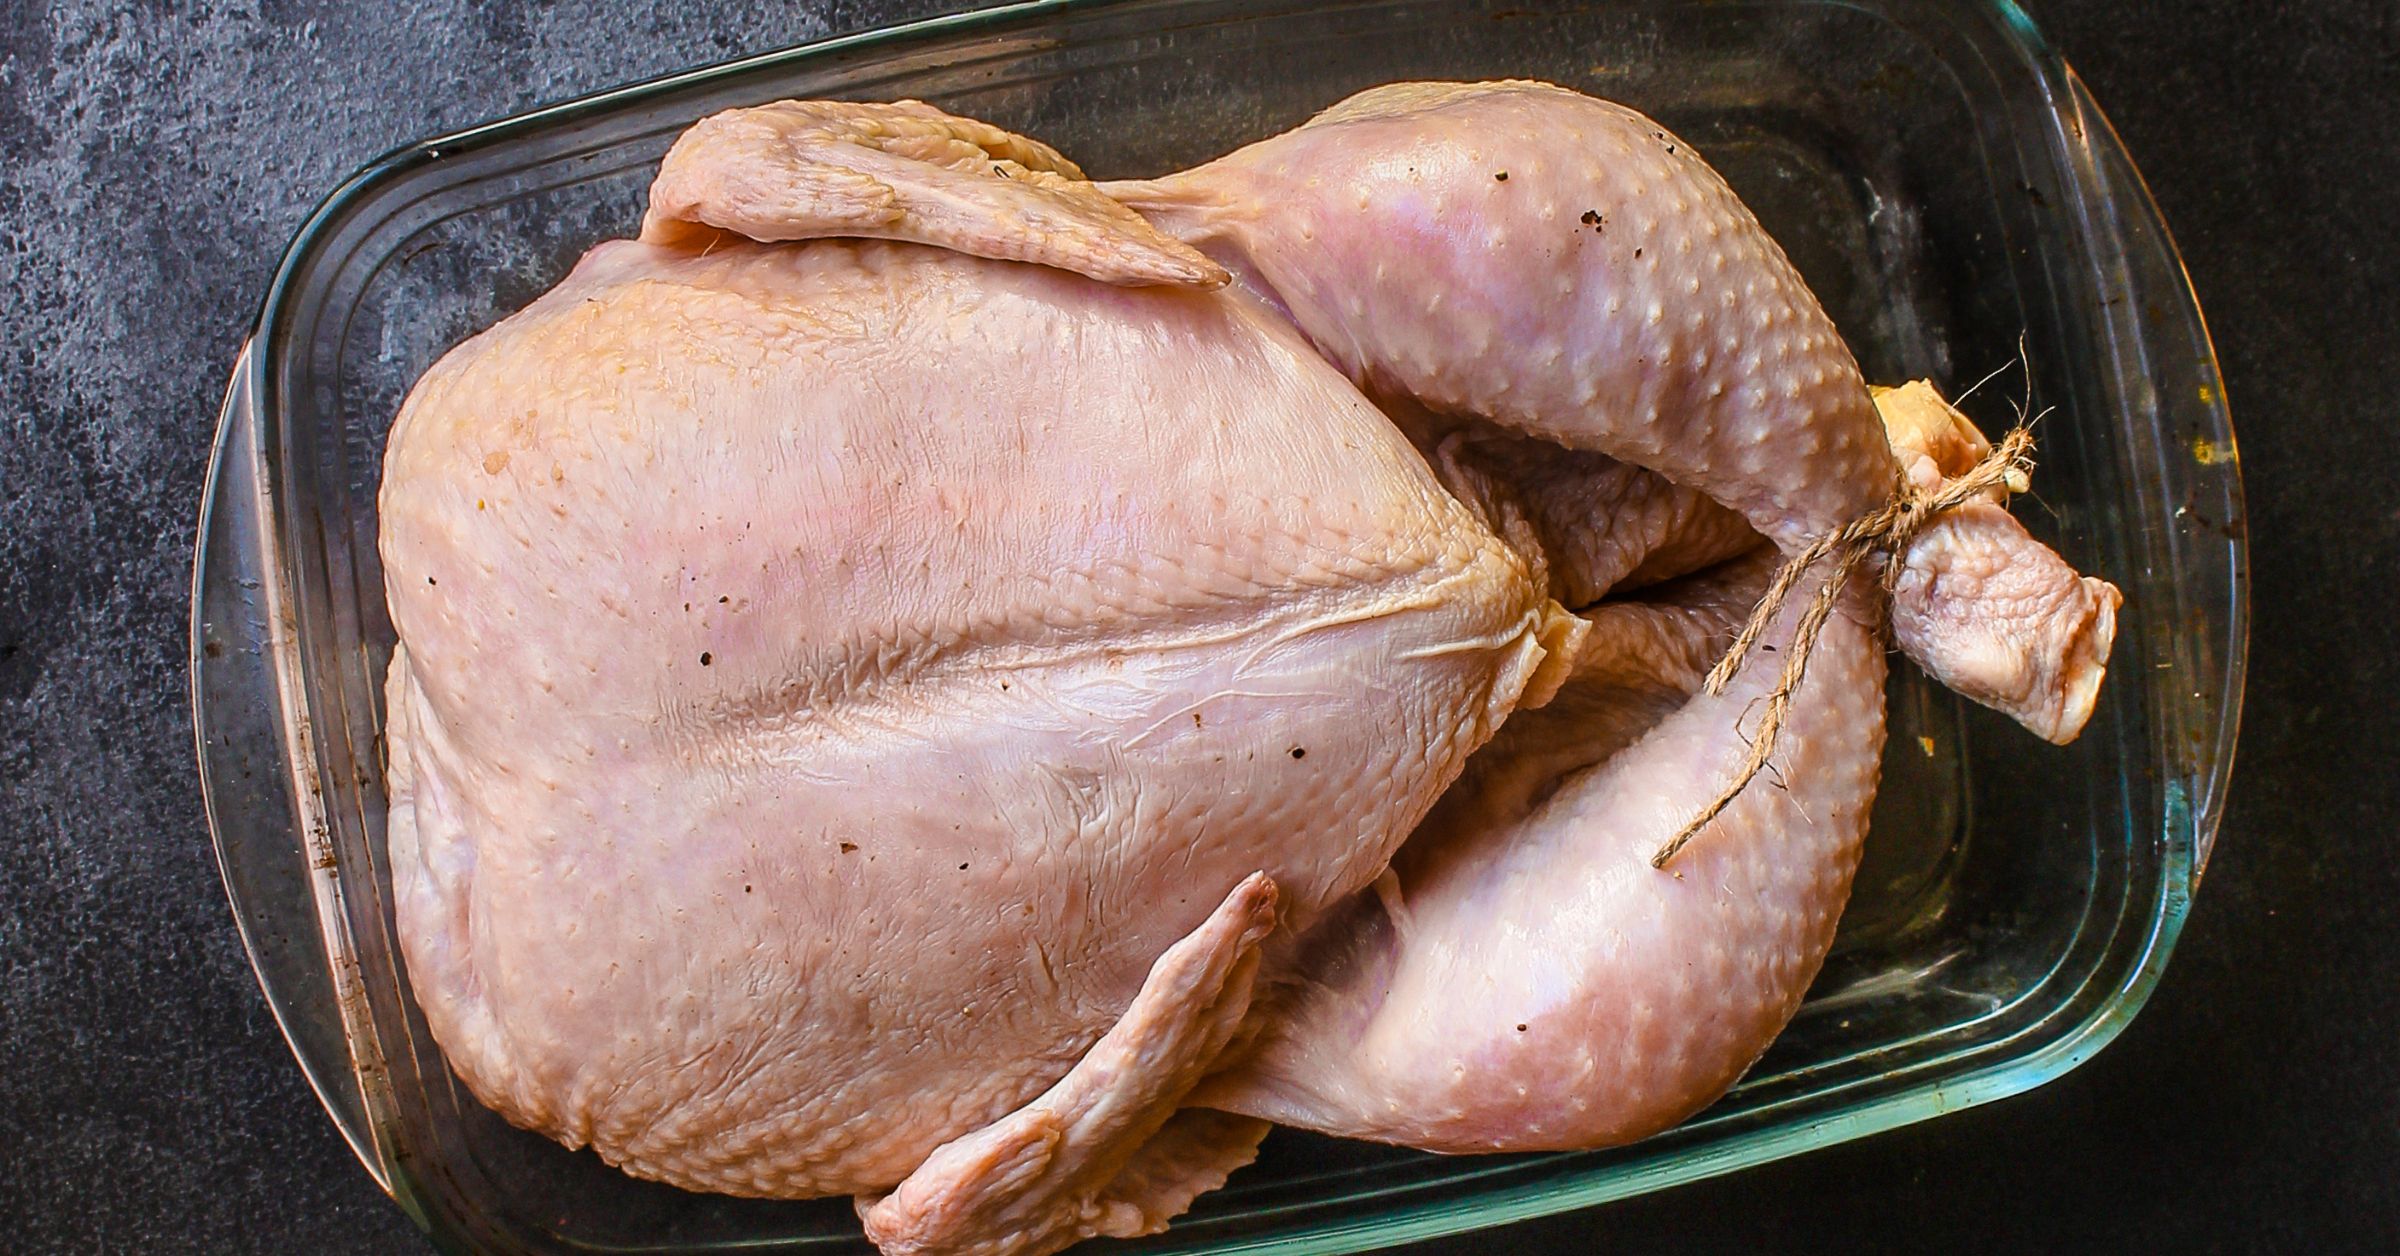
The turkey needs to be completely thawed and free of ice and excess water.
Remove the neck and giblets and check the cavity carefully for hidden ice. Then thoroughly pat the inside and outside dry with paper towels.
This isn't just about getting crisp skin. Water hitting hot oil can cause violent splattering.
You can also inject the turkey with marinade and apply a dry seasoning at this point. Avoid leaving wet marinade pooled on the exterior.
And don't stuff the turkey before deep-frying it. USDA guidance for deep-fried turkey specifies an unstuffed bird.
Check Your Fryer's Turkey Limit
Don't assume every Butterball electric fryer holds the same size bird.
One Butterball electric fryer manual recommends a 16- to 18-pound turkey and sets an absolute maximum of 20 pounds, while older or smaller models may have different limits.
Use the weight limit for the exact fryer you own.
5. Put the Turkey in the Basket
Basket orientation varies by model too.
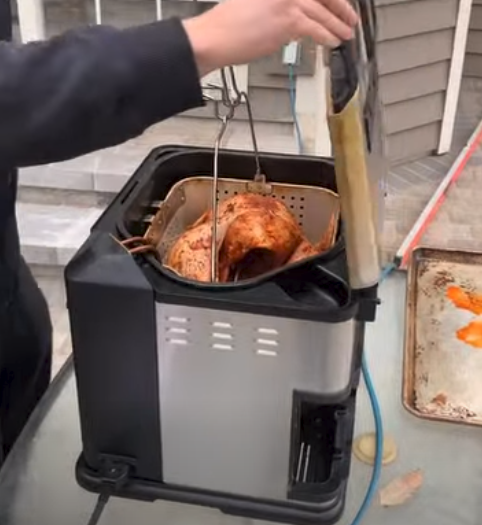
For the 8L and 10L Masterbuilt fryers, the turkey goes breast side up, with the legs toward the narrow end of the basket. The 5L model uses a different orientation.
Once the turkey is positioned correctly, use the lifting hook and protective gloves or mitts to handle the basket.
Now you're ready for the part that shouldn't be rushed.
6. Lower the Turkey Slowly
Very slowly lower the basket into the hot oil.
Don't drop it in all at once.
Even a properly dried turkey can cause bubbling as it enters the oil. Lowering the basket gradually keeps that reaction more controlled and reduces splashing.
Once the basket is fully seated, close the fryer lid as directed by your model.
7. Calculate the Cooking Time
Masterbuilt's Butterball electric fryer instructions use approximately 3½ to 4 minutes per pound for a whole turkey.
That gives you a useful estimate:
| Turkey Weight | Approximate Frying Time |
| 10 lb | 35–40 min |
| 12 lb | 42–48 min |
| 14 lb | 49–56 min |
| 16 lb | 56–64 min |
| 18 lb | 63–72 min |
Treat these as planning times, not proof that the turkey is done.
Turkey shape, starting temperature, fryer performance, and other factors can affect the actual cooking time.
The thermometer gets the final say.
8. Check the Internal Temperature
When the estimated cooking time is up, lift the basket out and let the oil drain before checking the turkey with a food thermometer.
USDA says a whole turkey is safe when it reaches at least 165°F in three places:
- Thickest part of the breast
- Innermost part of the thigh
- Innermost part of the wing
Don't check the temperature while the turkey is still submerged in the oil. USDA notes that doing so can give an inaccurate reading.
If the turkey hasn't reached the safe temperature, carefully return the basket to the fryer and continue cooking.
9. Drain and Rest the Turkey
Once the turkey is done, switch the fryer off and unplug it.
Slowly lift the basket and secure it in the drain position if your model provides one. This lets excess oil run back into the pot rather than collecting on the turkey or your work surface.
The Butterball electric fryer manual calls for leaving the turkey in the basket for about 10 minutes before removing it for carving.
Then transfer it carefully to a clean surface and let it rest before carving.
What Do You Do With the Oil Afterward?
Don't try to deal with several gallons of oil while it's still hot.
Leave the fryer switched off and unplugged until the oil has cooled completely. USDA recommends allowing a deep fryer to cool for approximately two hours before cleaning.
If the oil is still in good condition and you plan to reuse it, strain it to remove food particles and transfer it to a suitable sealed container.
Masterbuilt specifically advises against storing used oil inside the fryer, since buildup can damage the heating element.
Never pour used cooking oil down the drain.
The Bottom Line
Using a Butterball electric turkey fryer is fairly straightforward once you know the sequence:
Fill to the correct oil level, preheat the fryer, prepare a fully thawed and dry turkey, lower it slowly, cook according to your model's guidance, and verify 165°F with a thermometer before serving.
The most important detail is not treating every Butterball fryer as identical. Check your model's turkey weight limit, oil capacity, basket position, and operating instructions first, then let the fryer handle the heat.
By, Sean O'ConnorSean O'Connor is the lead writer at Batter Blaster, where he combines a lifelong passion for food with sharp research skills to bring readers the best in cooking tips, kitchen gear guides, and food insights. With a background in culinary journalism and a love for simplifying home cooking, Peter focuses on practical, approachable advice that helps real people cook with confidence.