How to Clean a Turkey Fryer
 Sean O'Connor
- 25 Oct 2026 10:09
- 5
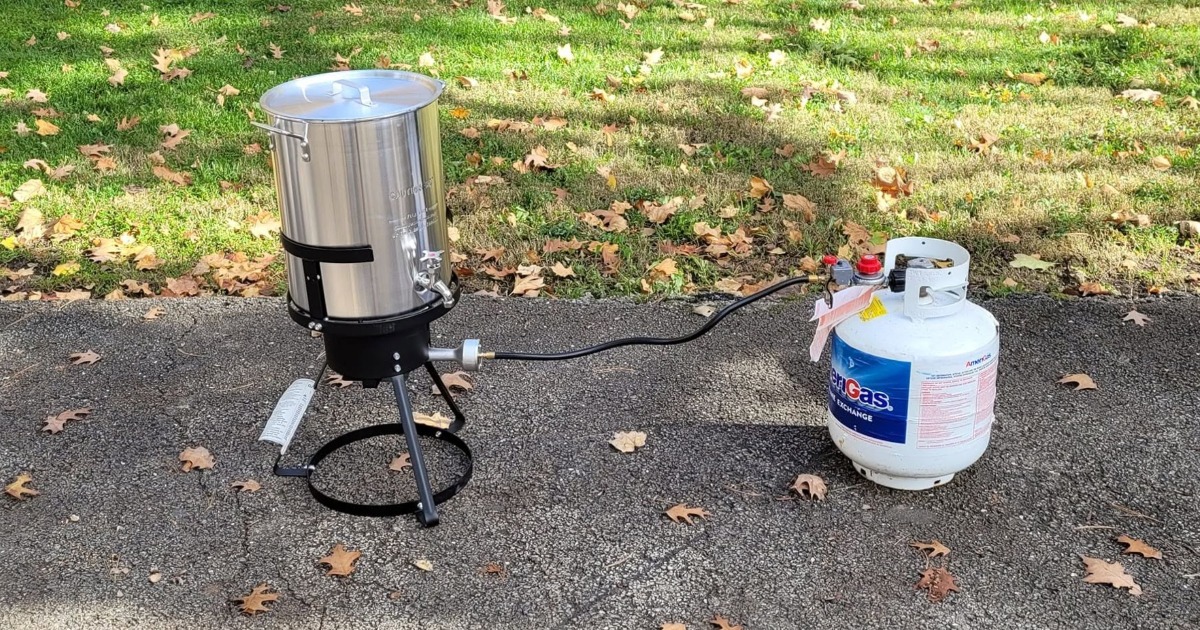
The turkey is gone. The oil isn't.
Cleaning a turkey fryer can look like a messy job when you're staring at a pot coated in grease, but most of the work comes down to handling the used oil first. Once the fryer is empty, the pot and basket clean up much like other greasy cookware.
The exact process depends on whether you have a traditional propane fryer or an electric model, so start by checking your fryer's manual. Then work through the mess in this order.
1. Let the Fryer Cool Completely
Don't start cleaning immediately after dinner.
Turn the fryer off and leave the oil alone until both the fryer and oil have cooled. USDA recommends allowing a deep fryer to cool completely, approximately two hours, before cleaning.
If you're using an electric fryer, unplug it before doing any cleaning.
Resist the temptation to speed things up by moving or pouring hot oil. A fryer may contain several gallons, making even a small spill difficult and dangerous to control.
Once everything is cool enough to handle safely, you can deal with the oil.
2. Remove the Used Oil
What you do next depends on whether you want to keep the oil.
If you're saving it
Used frying oil can sometimes be reused if it hasn't deteriorated.
Strain the cooled oil through a fine sieve or cheesecloth to remove crumbs and food particles, then transfer it to a clean container that can be tightly sealed.
Labeling the container with the date and type of oil makes it easier to keep track of what you've saved.
If you're throwing it away
Pour the cooled oil into a sturdy, sealable container and dispose of it according to your local waste rules. Some areas also have collection or recycling programs for used cooking oil.
Never pour fryer oil down the sink, toilet, or other household drain. Several gallons of grease can create a serious plumbing problem once it cools and builds up inside the pipes.
3. Wipe Out the Grease First
Once the oil is gone, don't immediately fill the pot with water.
There will probably still be a greasy film, browned residue, and small food particles clinging to the bottom and sides.
Use paper towels or a disposable cloth to wipe away as much of that residue as possible.
This simple step makes the actual washing much easier. Instead of turning several gallons of wash water into a greasy mess, you're starting with a mostly empty pot.
Pay extra attention to the bottom of the fryer, where crumbs and seasoning tend to collect.
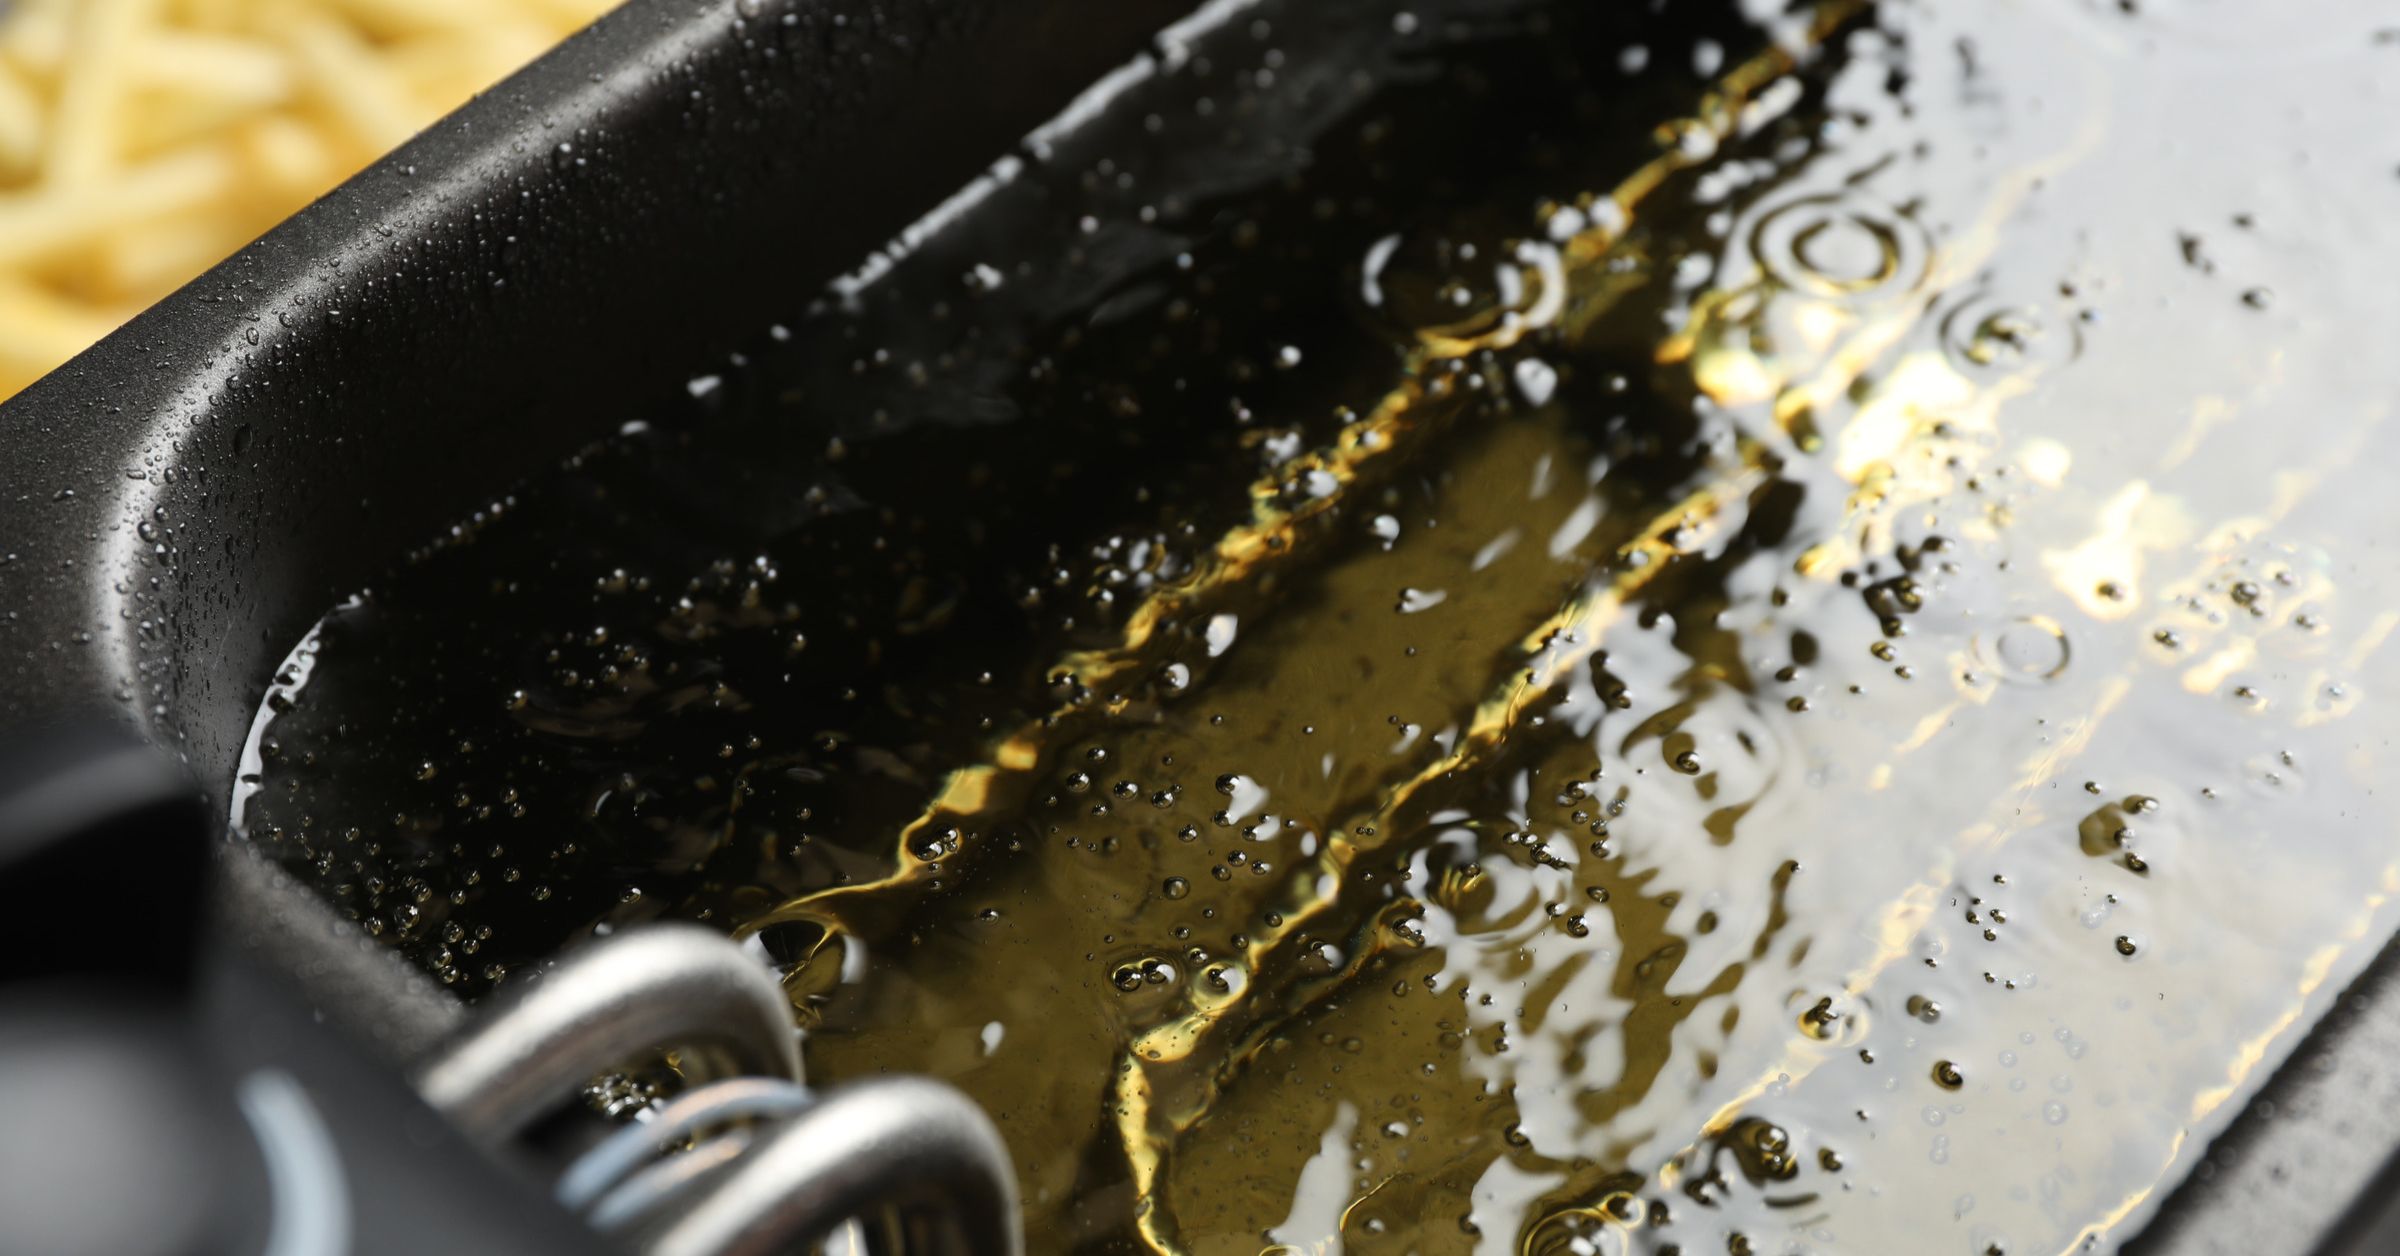
4. Wash the Pot and Basket
For a standard turkey fryer pot, warm water, dish soap, and a non-abrasive sponge are usually enough for routine cleaning.
Wash the inside and outside of the pot, then clean the frying basket, poultry rack, lifting hook, and any other washable accessories that came into contact with food or oil.
If grease has hardened onto the surface, let the pot soak briefly in warm, soapy water before scrubbing again.
Avoid reaching immediately for steel wool or an aggressive abrasive cleaner. Turkey fryer pots are often aluminum or stainless steel, and the appropriate cleaning method can differ between materials.
Check the manufacturer's care instructions before using anything abrasive.
5. Deal With Stubborn Grease Separately
A normal wash may not remove the dark, sticky film that sometimes develops after frying.
Instead of scrubbing harder from the beginning, soften the residue first.
Add hot water and dish soap to the pot and let it sit. A plastic or nylon scrubber can then help lift cooked-on grease without being as aggressive as metal scouring pads.
For particularly stubborn residue, follow the cleaning recommendations for your specific pot material.
The goal doesn't have to be making an older fryer look factory-new. What matters is removing food residue, loose buildup, and greasy deposits before storage.
6. Clean an Electric Turkey Fryer Differently
An electric fryer needs a little more care because not every part can be treated like a stockpot.
Never immerse the electrical control panel, cord, plug, or heating components unless the manufacturer specifically says a component is washable that way.
On Masterbuilt electric turkey fryers, removable parts such as the inner pot, basket, and lid can be cleaned separately, while the outer shell and electrical components require different handling according to the model's instructions.
If your fryer has a drain valve, clean around it carefully as well. Grease and food particles left inside the valve can become sticky during storage.
Most importantly, don't assume a removable-looking component is dishwasher-safe. Check the manual for your exact fryer before putting any part in the dishwasher.
7. Rinse and Dry Everything Completely
Once the grease and soap are gone, rinse the washable parts thoroughly.
Then dry them before reassembling or storing the fryer.
Don't put the fryer away while the pot, basket, or accessories are still damp. Trapped moisture can contribute to odors, staining, and corrosion over time, particularly if the fryer sits unused until the next holiday.
A towel gets most of the water off quickly, but letting the parts air-dry completely before storage is even better.
The Bottom Line
Cleaning a turkey fryer is much easier when you tackle it in the right order.
Let the oil cool, remove it, wipe out the leftover grease, wash the removable cookware, and let everything dry completely before storage.
For a basic propane fryer, most of the cleanup is simply dealing with a very large, greasy pot. With an electric fryer, the same principle applies, but the electrical components need to stay separate from the washing process.
Handle the oil first, and the rest of the cleanup becomes a lot less intimidating.
By, Sean O'ConnorSean O'Connor is the lead writer at Batter Blaster, where he combines a lifelong passion for food with sharp research skills to bring readers the best in cooking tips, kitchen gear guides, and food insights. With a background in culinary journalism and a love for simplifying home cooking, Peter focuses on practical, approachable advice that helps real people cook with confidence.