How to Prep a Turkey for Frying (Brine, Inject, Dry)
 Sean O'Connor
- 20 Oct 2026 09:45
- 7
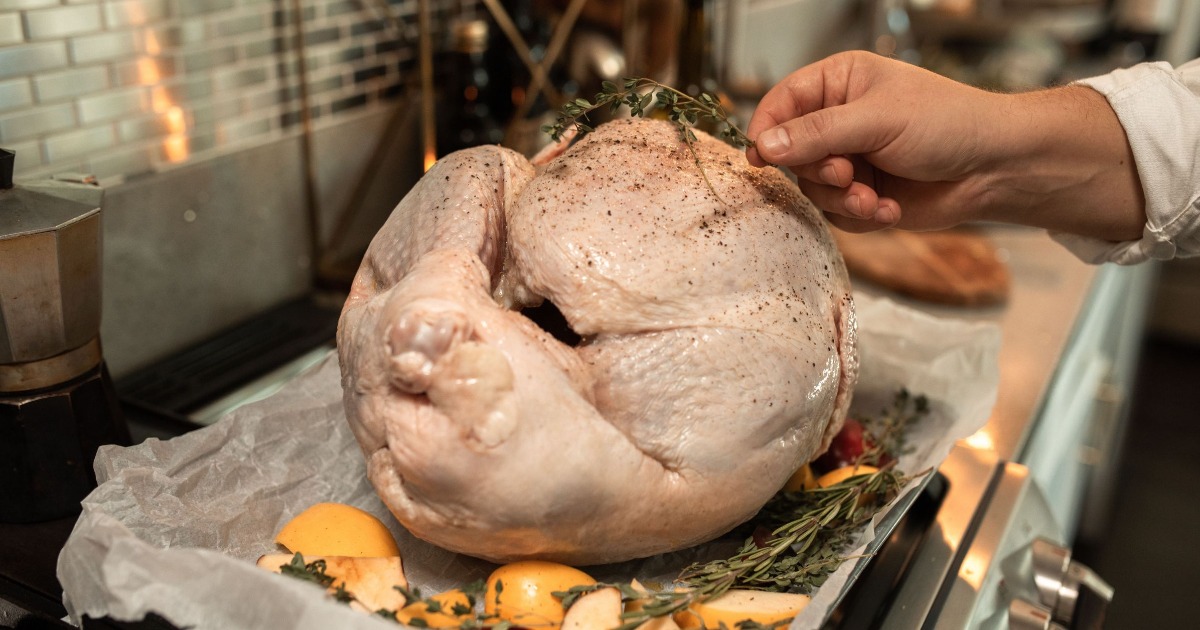
The best fried turkey starts well before the oil gets hot.
You can brine it, inject it, season it generously, or keep things surprisingly simple. But there's one part of the prep you can't improvise: the turkey must be completely thawed and thoroughly dry before it goes anywhere near hot oil.
So, before you fire up the fryer, here's how to get the bird ready.
A Simple Turkey Prep Timeline
If you're planning backward from frying time, the process looks roughly like this:
| When | What to Do |
| Several days ahead | Thaw a frozen turkey in the refrigerator |
| 12–24 hours ahead | Brine, if using a brine |
| After brining | Rinse only if your brine instructions require it, then dry thoroughly |
| Several hours ahead | Refrigerate uncovered to help dry the exterior |
| Before frying | Inject, if desired, and add dry seasoning |
| Right before frying | Check the cavity and skin carefully for moisture |
Exact timing will depend on your turkey, recipe, and seasoning method. The important part is giving yourself enough time that drying never has to be rushed.
Step 1: Start With a Completely Thawed Turkey
This is the non-negotiable part.
A turkey that still contains ice can cause an extremely dangerous reaction when lowered into hot frying oil. Water turns rapidly to steam, pushing and splattering oil out of the pot. If overflowing oil reaches the burner, it can ignite.
USDA recommends thawing a turkey in the refrigerator at approximately 24 hours for every 4 to 5 pounds. A 12-pound turkey, for example, generally needs around three days.
Don't judge thawing by the outside alone. Ice can remain hidden inside the cavity even when the breast and legs feel soft.
Before moving on:
- Remove the neck and giblets.
- Check both cavities for ice.
- Feel around the joints for frozen areas.
- Drain any liquid collected inside.
If you find ice, the turkey isn't ready for the fryer.
Step 2: Decide Whether to Brine, Inject, or Both
Here's where prep becomes a matter of taste.
Brining and injecting aren't required to deep-fry a turkey. They're simply two different ways of adding flavor and, depending on the method, seasoning the meat below the surface.
You can use either one. You can use both carefully. Or you can skip both and rely on a dry seasoning blend.
Before adding salt, however, check the turkey's packaging.
Some birds are sold already containing a solution of water, salt, broth, or seasonings. Adding a strong brine on top of that can leave the finished turkey saltier than you intended.
If the label says something like “contains up to X% of a solution,” take that into account before adding more salt.
Option 1: Brine the Turkey
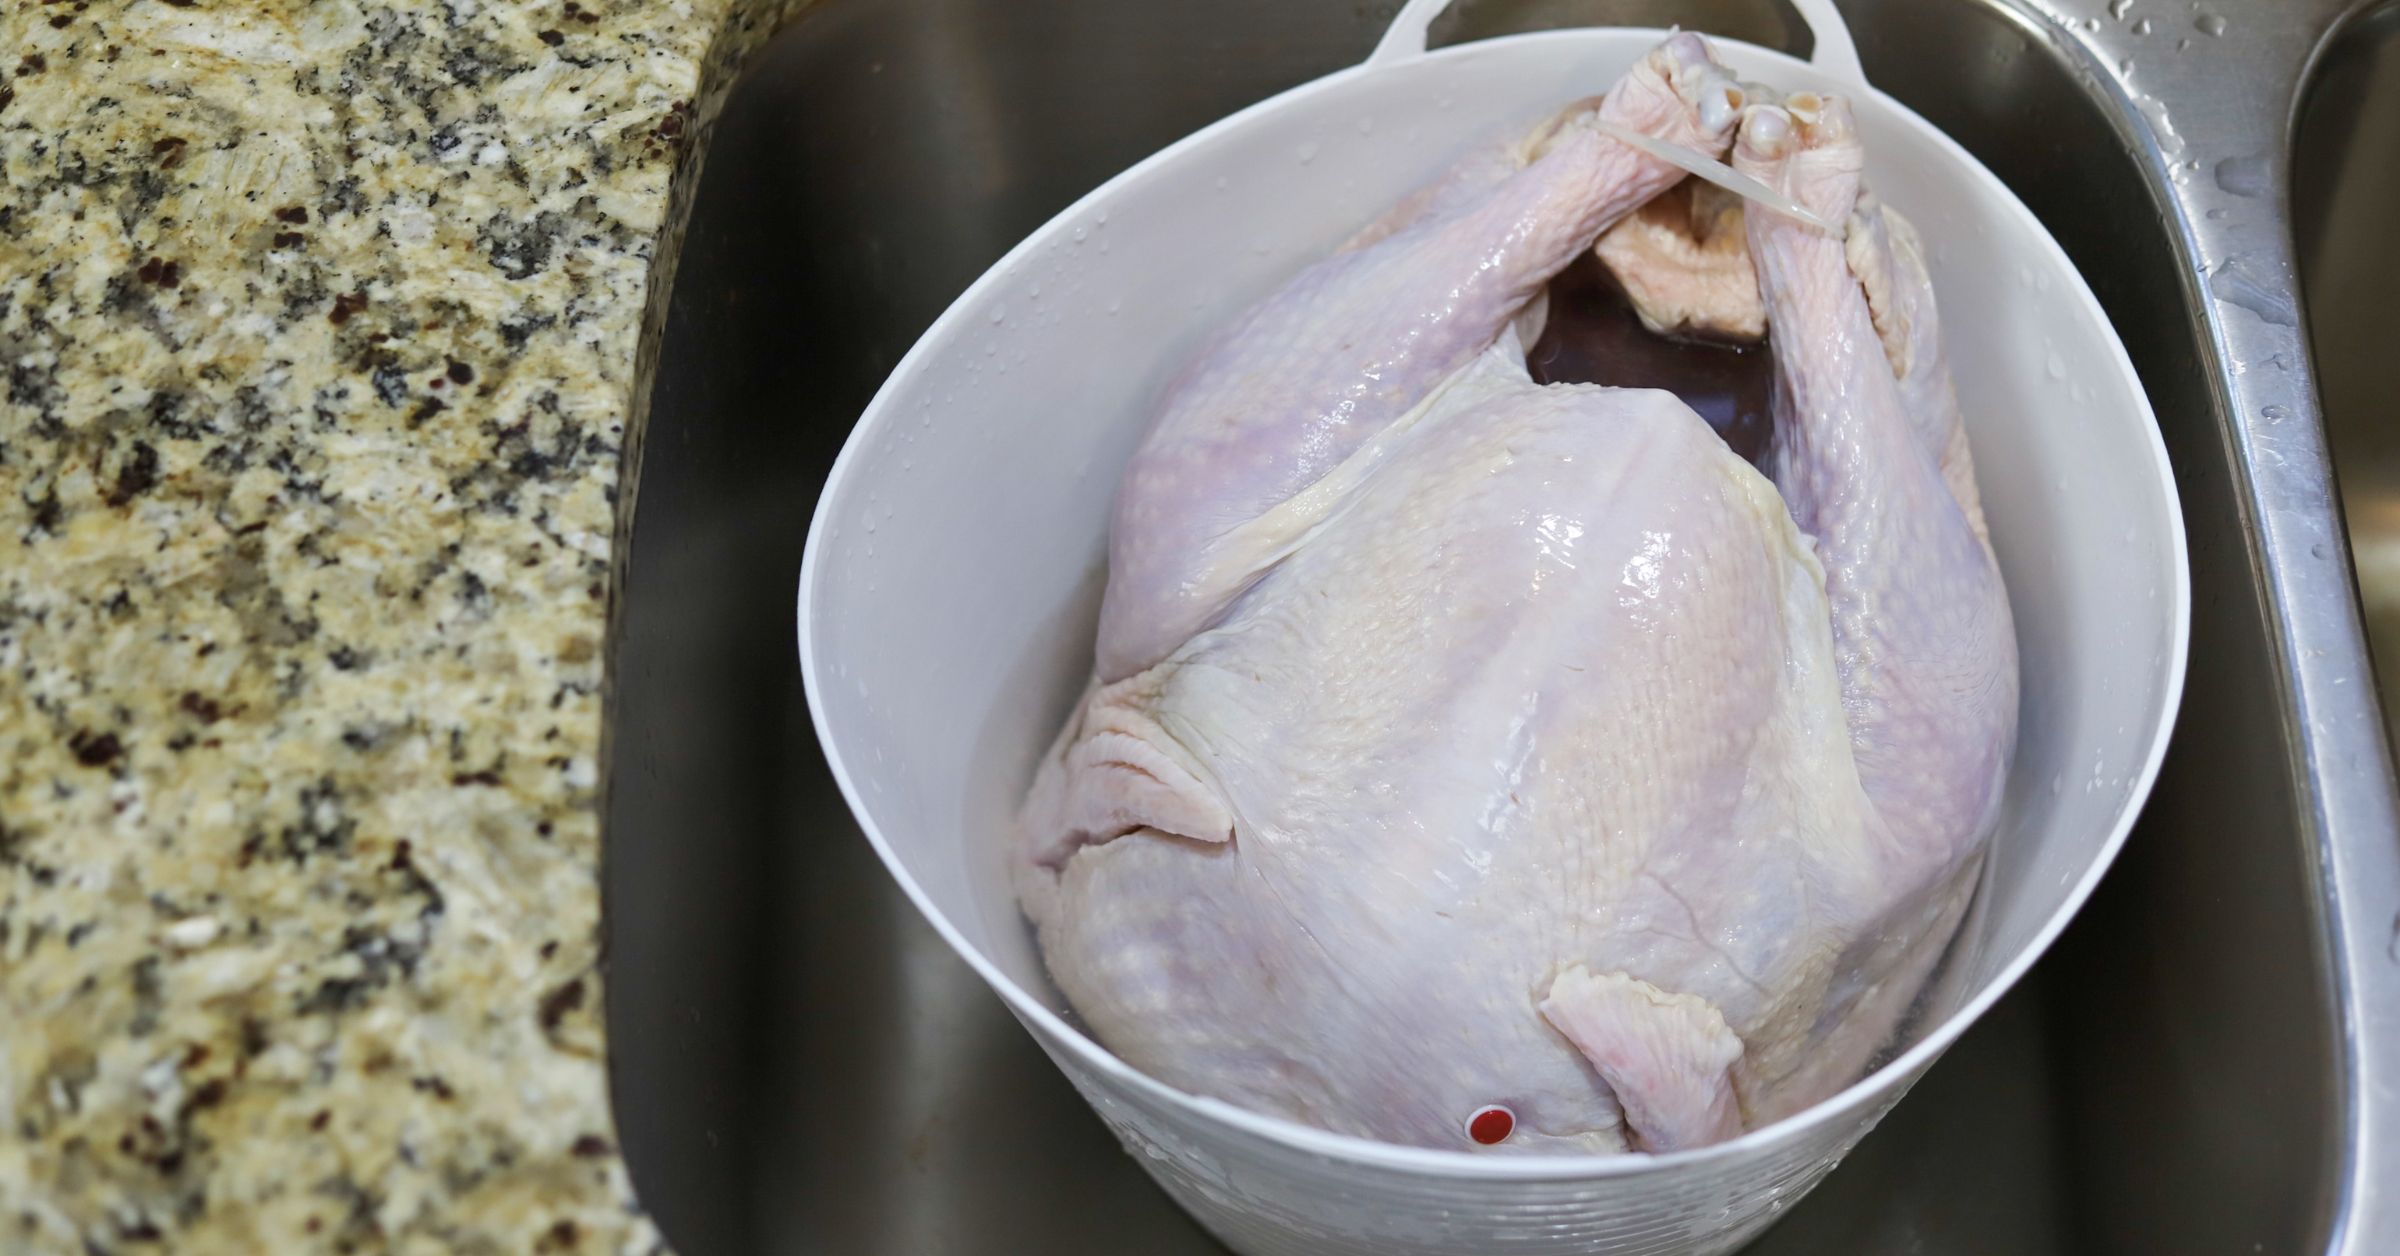
Brining seasons the turkey before cooking, but for a fried bird, you need to think about what happens after the brine too.
Wet Brine
A traditional wet brine submerges the turkey in a mixture of water and salt, often with sugar, herbs, spices, citrus, or aromatics added for flavor.
Follow a tested recipe for the actual salt-to-water ratio rather than improvising a very salty solution.
Keep the turkey refrigerated at 40°F or below while it brines. USDA recommends keeping poultry refrigerated during brining and not brining for longer than two days.
Once brining is finished, remove the turkey and let the excess liquid drain. And then comes the especially important part for frying:
Dry it thoroughly.
A wet-brined turkey has just spent hours sitting in liquid. It shouldn't go from the brine bucket anywhere near a pot of hot oil.
Dry Brine
A dry brine skips the water.
Instead, salt and seasonings are applied directly to the turkey and the bird rests in the refrigerator. Because you aren't soaking it in liquid, there's less surface moisture to deal with afterward.
That makes a dry brine particularly convenient for deep frying.
You still need to check the turkey carefully and dry away any moisture before frying, but you aren't starting with a bird that has just been pulled from a bucket of brine.
If crisp skin is one of your goals, that simpler drying process is a real advantage.
Option 2: Inject the Turkey
If brining works from the outside over time, injecting takes a more direct route.
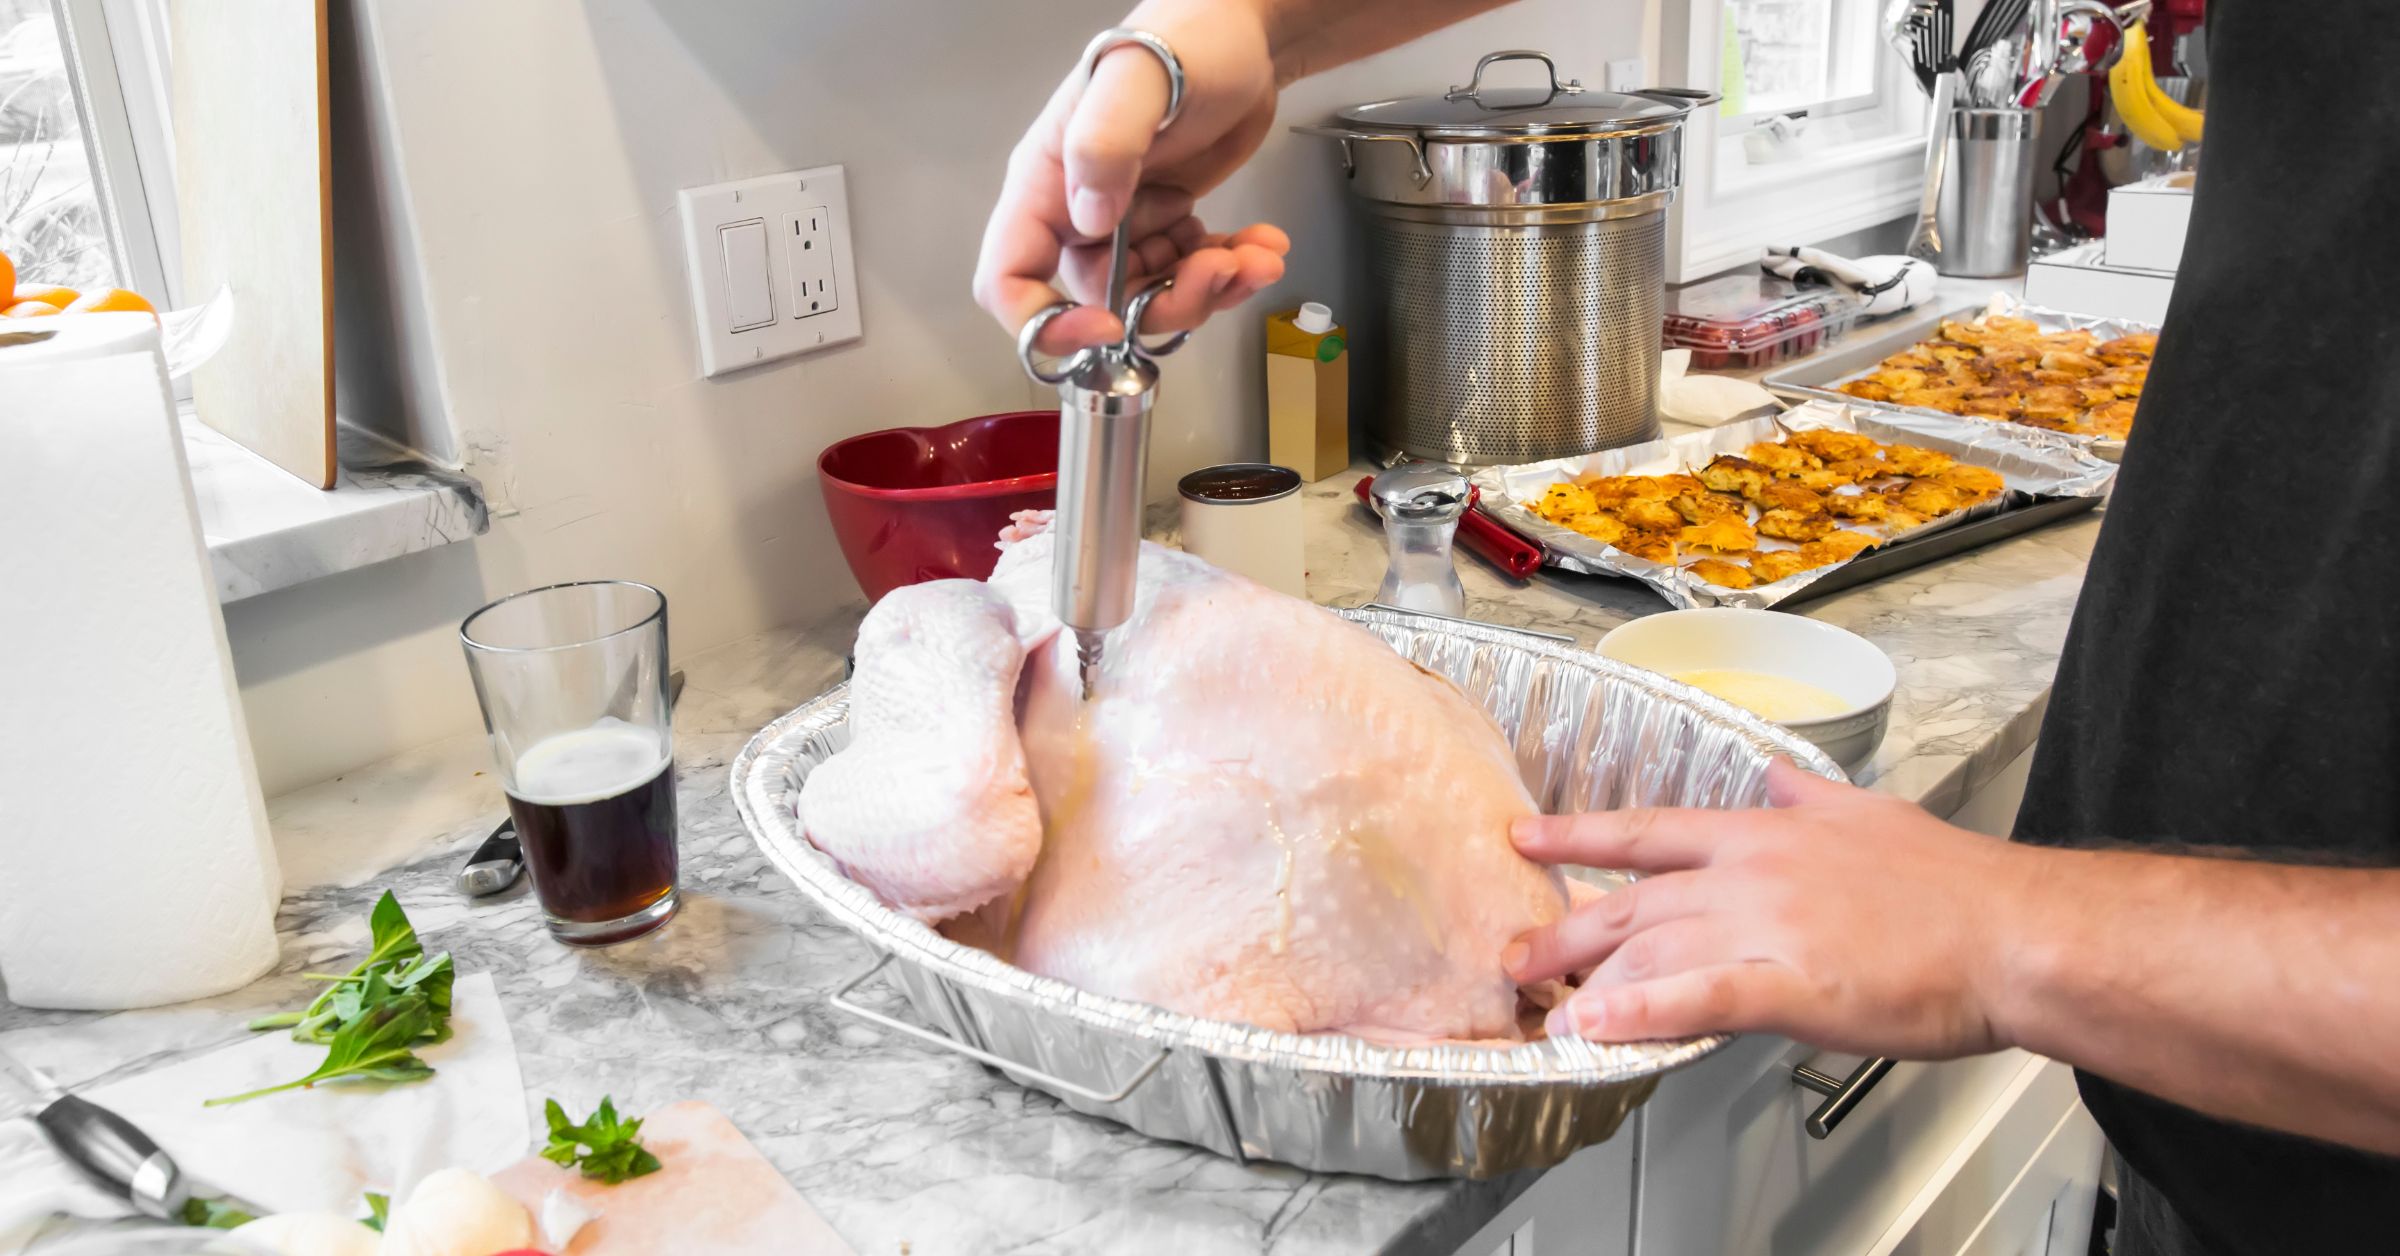
A meat injector delivers seasoned liquid into thicker parts of the turkey, allowing you to put flavor inside the meat shortly before cooking.
Butter-based mixtures, Cajun-style marinades, garlic, herbs, and other savory seasonings are common choices.
The technique matters more than simply making lots of holes.
Insert the needle into the thickest parts of the breast, thighs, and drumsticks, then inject small amounts in several places rather than flooding one spot. Pulling the needle back slowly as you inject can help distribute the marinade through a larger area.
Wipe away any marinade that leaks onto the skin. You don't want pockets of liquid sitting on the exterior when the turkey reaches the fryer.
Should You Inject the Turkey the Night Before?
You can prepare some injected turkey recipes ahead of time, but follow the instructions for the marinade you're using and keep the turkey refrigerated.
You don't necessarily need an overnight rest to make injection worthwhile. Unlike a brine, the seasoning is physically delivered into the meat rather than relying entirely on time to move inward from the surface.
If your injection mixture contains ingredients that need refrigeration, keep the turkey at 40°F or below until you're ready for the final prep.
Can You Brine and Inject the Same Turkey?
You can, but more seasoning doesn't automatically mean more flavor.
A well-seasoned brine plus a salty commercial injection can easily become too much. The same problem can happen if the turkey already contains an added salt solution.
If you're combining methods, think of them as parts of one seasoning plan rather than two independent recipes.
For example, you might use a relatively simple brine and a complementary low-salt injection for additional flavor. Or dry-brine the turkey and skip injection entirely.
The goal is a well-seasoned bird, not to fit every possible prep technique into one turkey.
Step 3: Dry the Turkey Thoroughly
Whatever seasoning route you choose, they all eventually lead here.
The turkey needs to be as dry as possible before frying.
Start by letting excess liquid drain from the cavity. Then use paper towels to thoroughly pat the exterior and inside cavities dry.
Pay particular attention to places where moisture can hide:
- Inside both cavities
- Under loose folds of skin
- Around the wings
- Around the leg and thigh joints
- Around the neck opening
If you've wet-brined the turkey, be especially thorough.
For even better surface drying, place the turkey uncovered on a rack over a sheet pan in the refrigerator for several hours or overnight. The circulating cold air helps dry the skin rather than trapping moisture against it.
Just remember that refrigerator drying doesn't replace physically checking the bird before frying.
Give it another inspection before it leaves the kitchen.
Step 4: Add the Final Seasoning
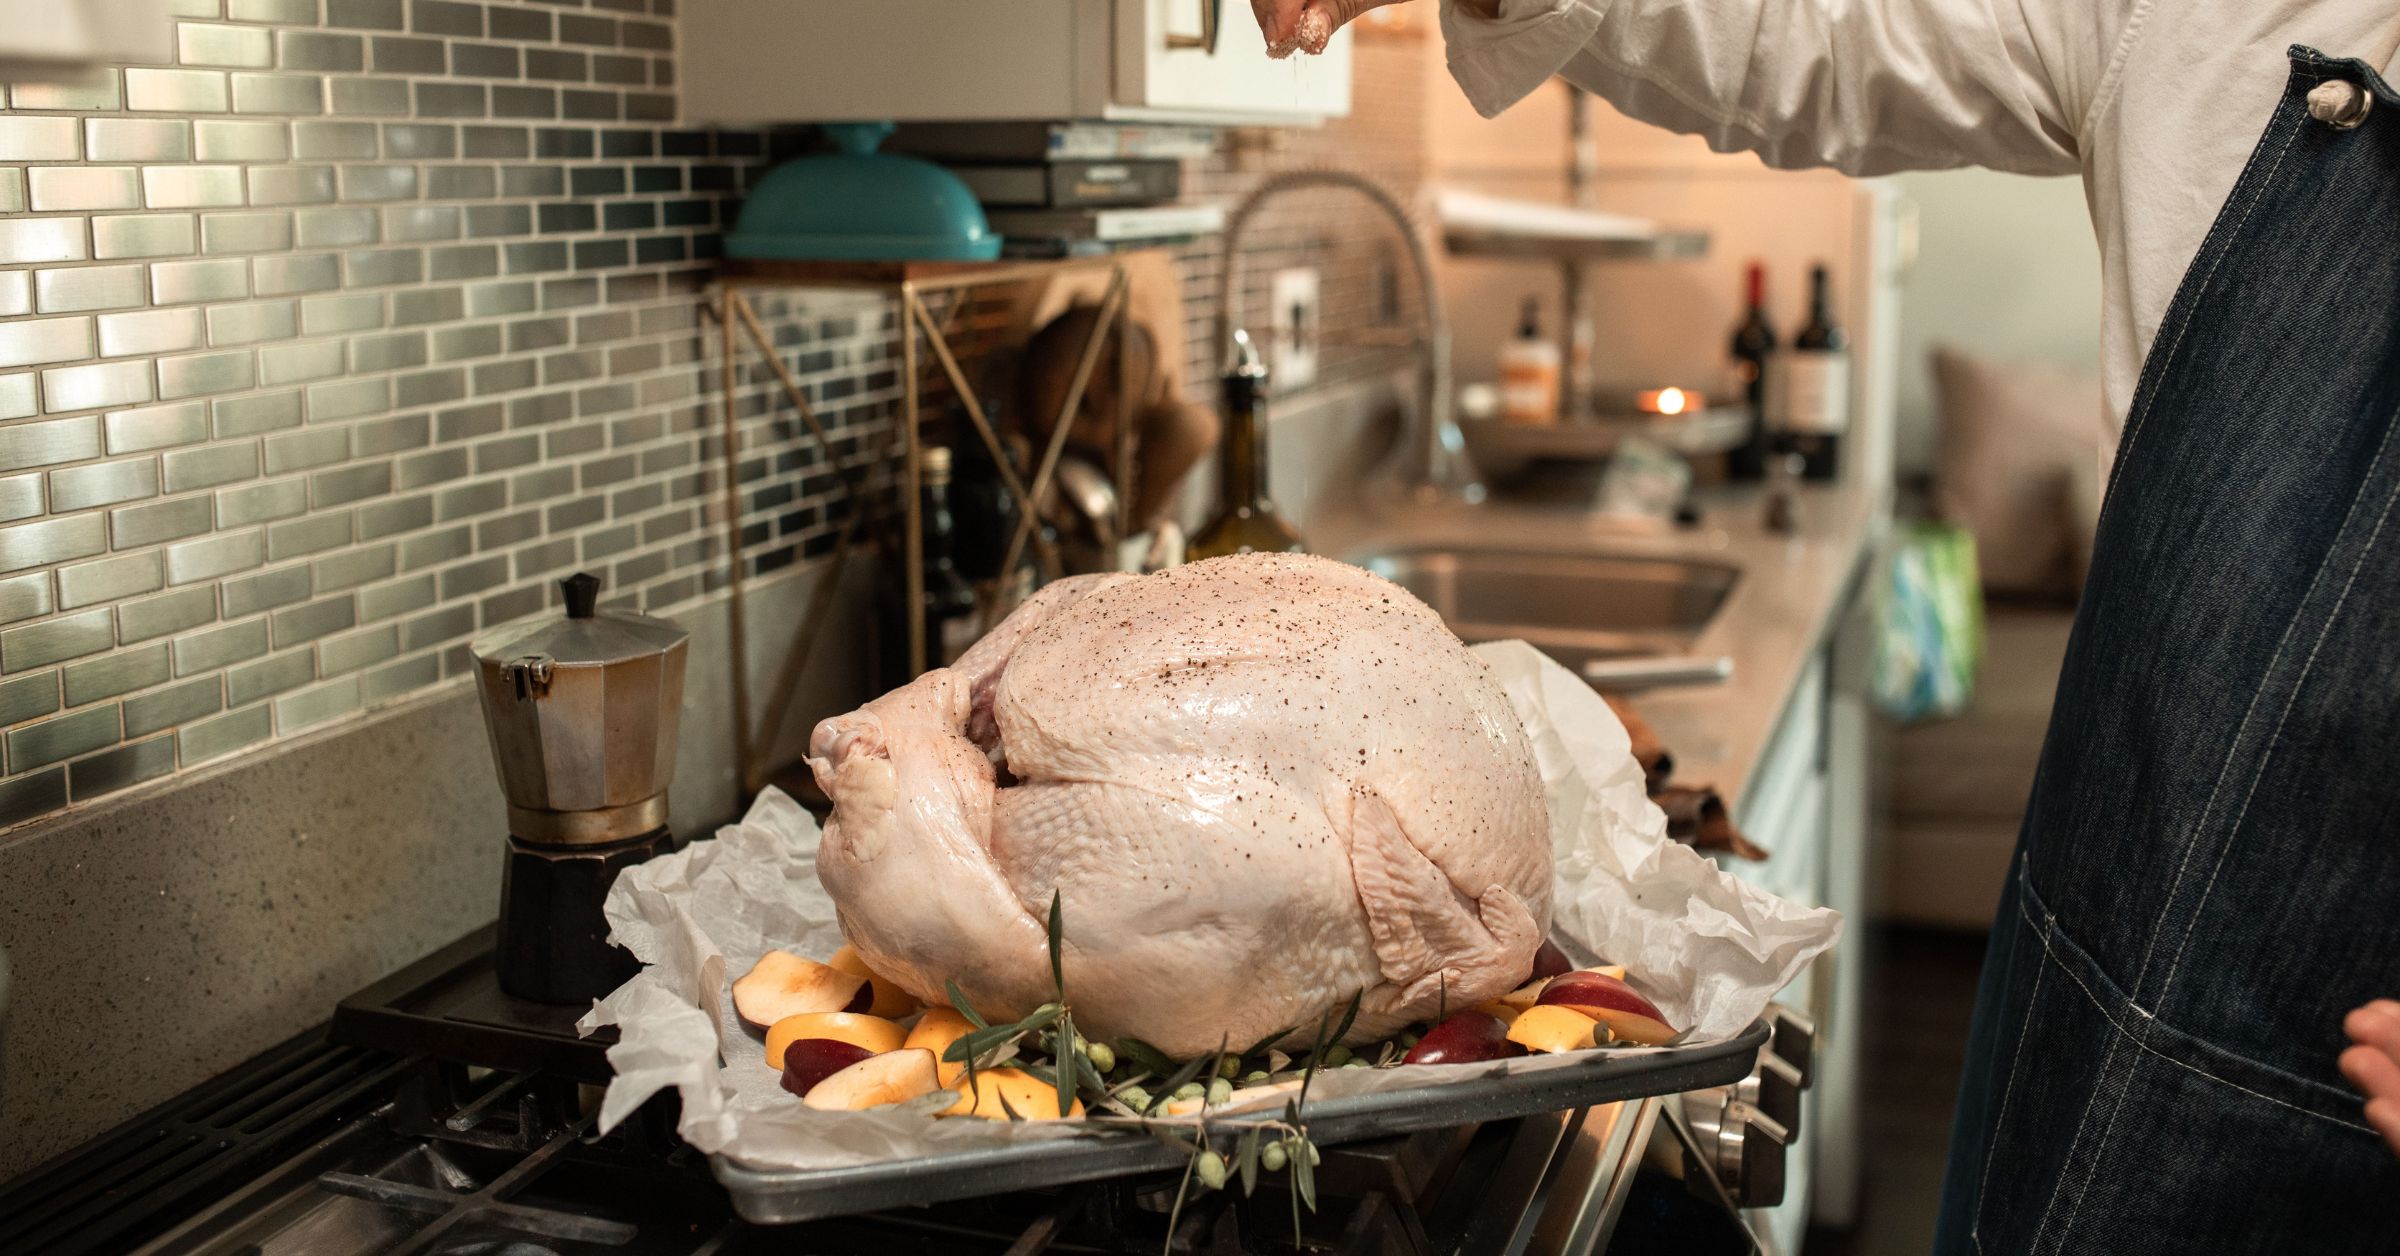
Once the turkey is dry, finish the exterior seasoning.
A simple dry rub works particularly well for fried turkey because it adds flavor without introducing another layer of liquid.
Depending on the flavor you're after, that might include:
- Black pepper
- Paprika
- Garlic powder
- Onion powder
- Cayenne
- Dried herbs
- Cajun or Creole seasoning
Be careful with additional salt if you've already brined or injected the turkey.
You also don't need to coat the skin in a heavy wet marinade right before frying. At this point, you've spent all that effort getting the exterior dry. There's little reason to soak it again.
Step 5: Do One Final Moisture Check
Before the turkey leaves the prep area, stop seasoning and inspect it one last time.
Look inside the cavity. Check around the joints. Feel the skin. Make sure there's no remaining ice and no obvious pockets of liquid.
This final check takes a minute and matters far more than squeezing in one more layer of seasoning.
USDA warns that water and hot frying oil are a dangerous combination, and a turkey should be completely thawed before deep frying.
Once you're satisfied that the bird is thawed and dry, keep it refrigerated until you're ready to proceed with your fryer's setup and cooking instructions.
Wet Brine vs. Dry Brine vs. Injection: Which Should You Choose?
You don't need to make turkey prep complicated.
| Method | Best If You Want | Main Consideration |
| Wet brine | Seasoning throughout the bird | Requires extra drying afterward |
| Dry brine | Simple prep and a drier exterior | Needs time in the refrigerator |
| Injection | Stronger flavor directly inside the meat | Avoid over-seasoning and surface leaks |
| Dry seasoning only | The simplest approach | Flavor stays more concentrated near the exterior |
For deep frying specifically, dry brining is especially convenient because it doesn't add a large amount of surface moisture. Injection is useful when you want more pronounced flavor inside the meat without soaking the entire bird.
Wet brining still works. It simply makes the drying stage more important.
The Bottom Line
A flavorful fried turkey doesn't need every prep trick at once.
Choose a brine, injection, or seasoning method that fits the flavor you want. Then give the turkey enough time to thaw completely and dry thoroughly before frying.
The seasoning is flexible. The dry bird isn't.
By, Sean O'ConnorSean O'Connor is the lead writer at Batter Blaster, where he combines a lifelong passion for food with sharp research skills to bring readers the best in cooking tips, kitchen gear guides, and food insights. With a background in culinary journalism and a love for simplifying home cooking, Peter focuses on practical, approachable advice that helps real people cook with confidence.